Hot chocolate brownie cookies and a quick trip down memory lane
Just in time for Christmas: an old favorite cookie recipe resurrected
Just in time for Christmas: an old favorite cookie recipe resurrected
7 years ago, I created a cookie recipe that honored my lifelong love of hot chocolate. Sort of a brownie, sort of a cookie, full of hot cocoa trimmings—I loved this cookie.
One of my sisters recently asked if I still had the recipe. Digging through archived PDFs from my old blog was like reading an old diary, a time capsule from a different phase of life. On 12/17/2018, the date I posted this recipe, Tommy and I were newlyweds living in downtown Boston with one of our dogs, Ghost. It’s always funny to think back on how we spent our time before having kids—hard to precisely pinpoint and yet you typically felt busy. Everything is relative, isn’t it. We both worked long hours for the same company. Outside of work, the memories that come to mind are exploring Boston’s restaurants, having friends and family over for parties, walking Ghost in search of small patches of grass (I don’t miss that), obsessing over Game of Thrones, cooking, baking, reading physical books (I am eternally grateful for audiobooks, without which I’d never be able to keep up with as much reading as I used to), driving up north to ski, and doing puzzles—endless puzzles.
How you allot your time shifts during life. That’s normal. And while my surroundings look quite different today, I can’t help but sit here and feel that while so much can change, some things don’t change much at all. As I hover in the mental state that exists somewhere between the fog of a week-and-a-half long (and counting) relentless barage of viruses and the dazzling joy and excitement that comes in the days leading up to Christmas, I feel the space-time continuum bend just a bit (or, I like to think I do). Maybe it’s the fog, maybe it’s the excitement, or maybe it’s just simply sitting at a computer and writing, but it’s me—still me, just a girl who loves hot chocolate.
I can see 10-year-old me making hot chocolate with free Swiss Miss packets in the kitchen of my dad’s downtown Boston office on weekends. 16-year-old me making batches of hot chocolate for family using our beloved (and sadly, retired) Cocomotion machine. There’s 22-year-old me, now working in the same office as my dad, making the same hot chocolate in the same kitchens all of those years later. 27-year-old me dreaming up this recipe in my Boston apartment and writing a blog post about it. 34-year-old me sitting here recreating the recipe and reminiscing, while drinking hot chocolate almost daily with my kids*.
Okay, back to the present and off of memory lane. There’s something about the Christmas spirit and scents of the season that truly stirs up your nostalgia.
Wishing you all a healthy, merry and delicious Christmas.
xo,
Shannon
P.S. - to anyone who read my blog before, or this recipe in particular, I included a few tweaks to both style and steps. Hope you enjoy!
*Note: it feels important to point out that we have identified a “healthier” hot chocolate but still mix in good old Swiss Miss. Having kids really makes you re-evaluate ingredient labels! Also, with the retirement of our old Cocomotion machine, we now have something called the “Velvetiser” by Hotel Chocolat which makes small batches but we love it.
Hot Chocolate Brownie Cookies
recipe makes 16-20 cookies
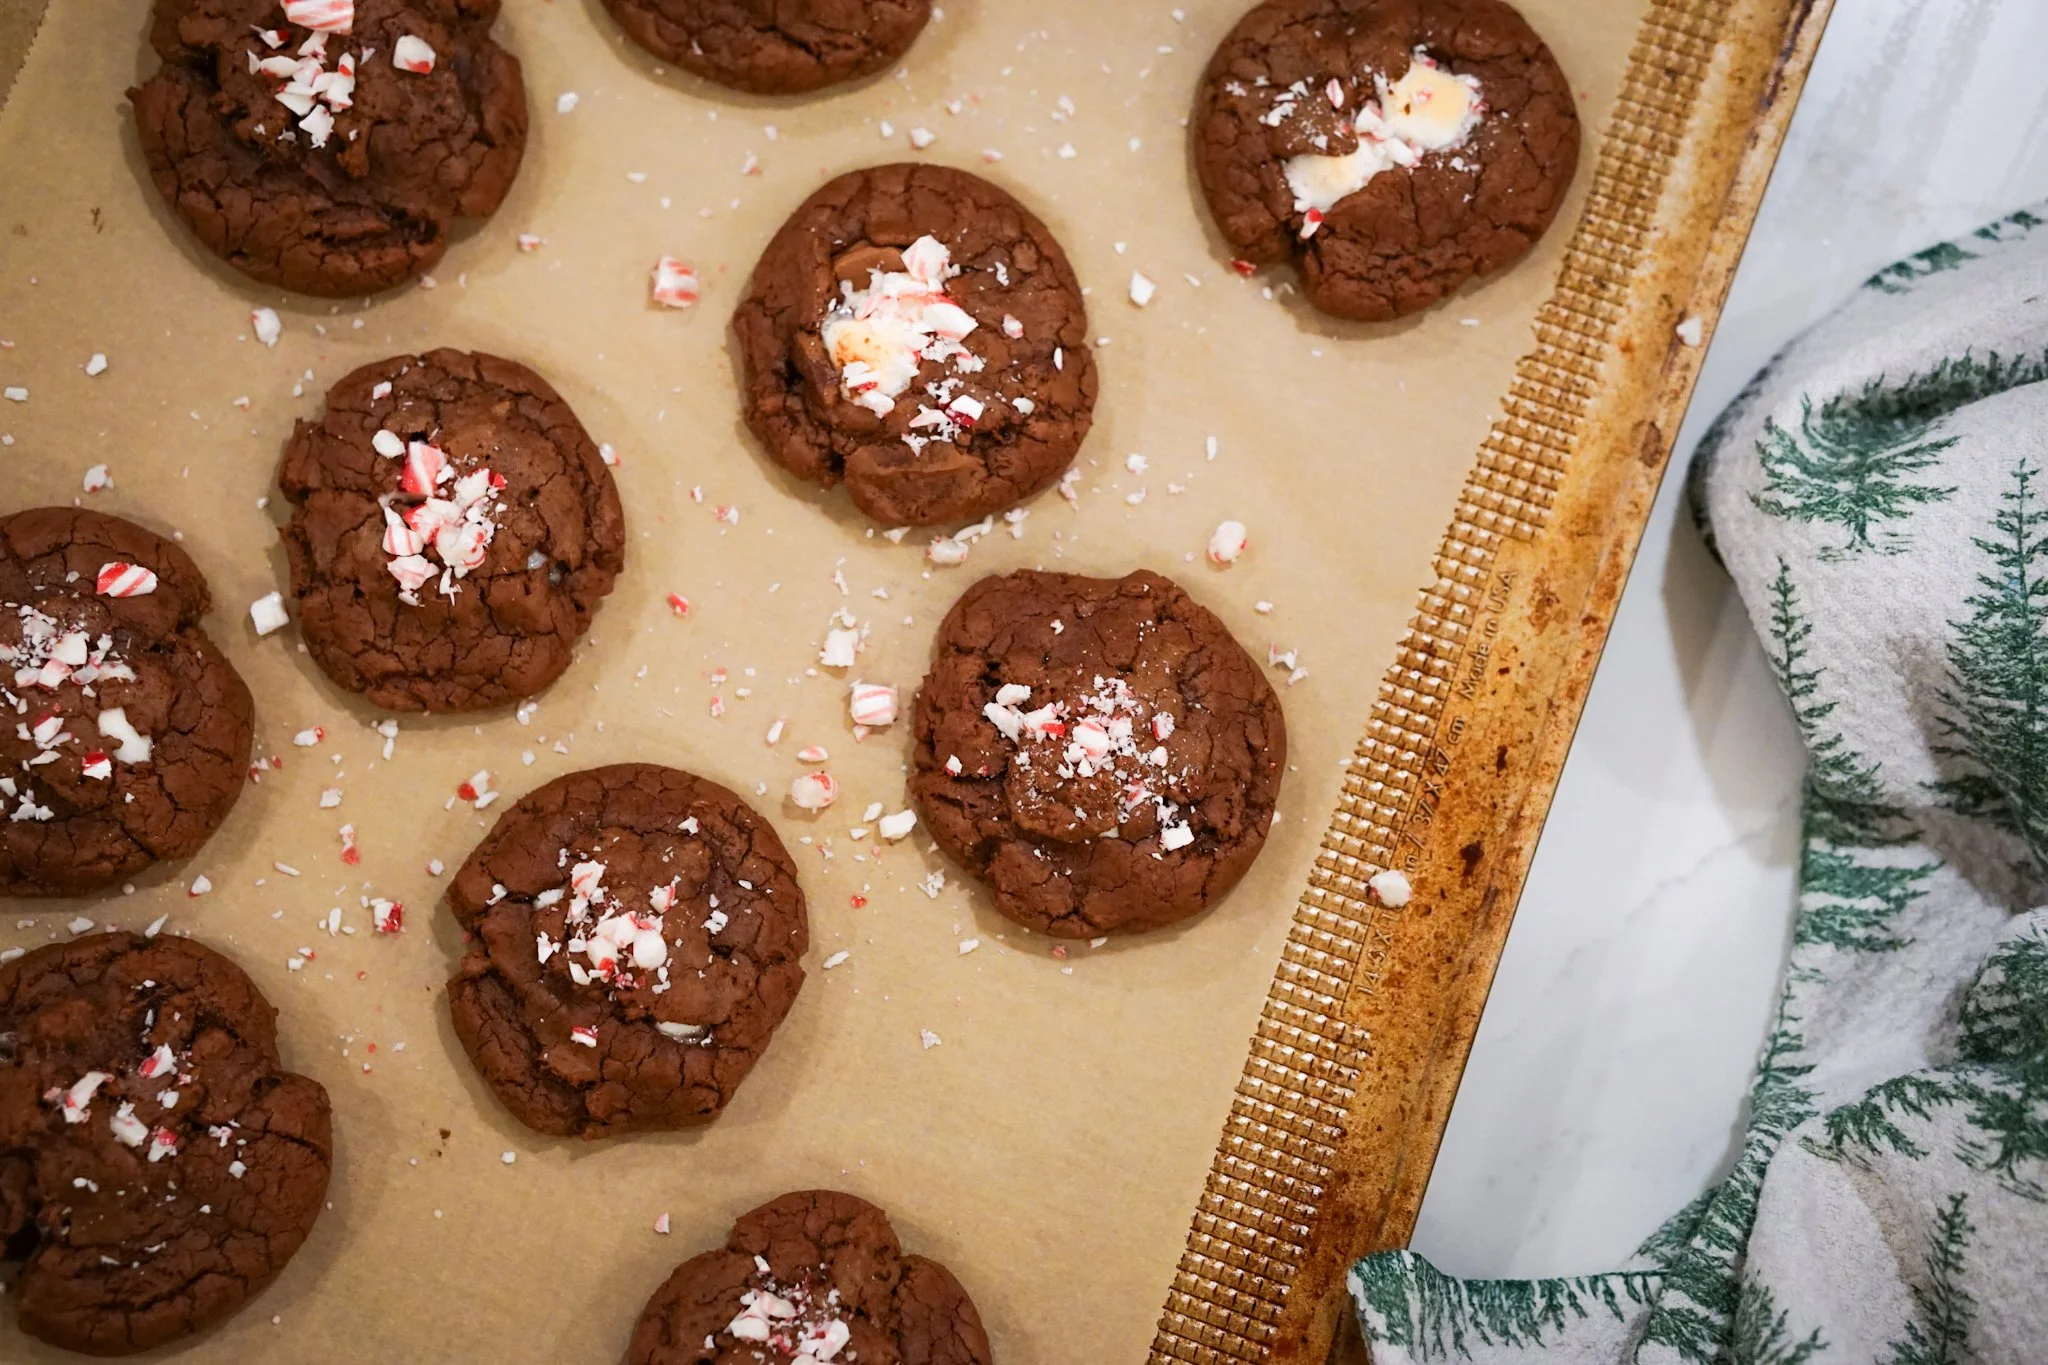
If I picture my perfect cup of hot chocolate, this is what I see: the cocoa itself, whipped cream, and marshmallows. If I were going all out, I’d add a mini candy cane and maybe some chocolate shavings. This recipe attempts to incorporate all of this, minus the whipped cream. Everyone has their own idea of the perfect hot chocolate, though, so modify it however you’d like. If you’re not a fan of marshmallows, maybe tuck in some white chocolate chunks instead when you get to that step. If you don’t love candy canes, skip that step or sprinkle on some flake salt. As I said in my 2018 blog post, “if you don’t like chocolate, why are you here?” This cookie recipe won at least one office Christmas cookie contest—I hope it brings you a little joy and a moment of decadence.
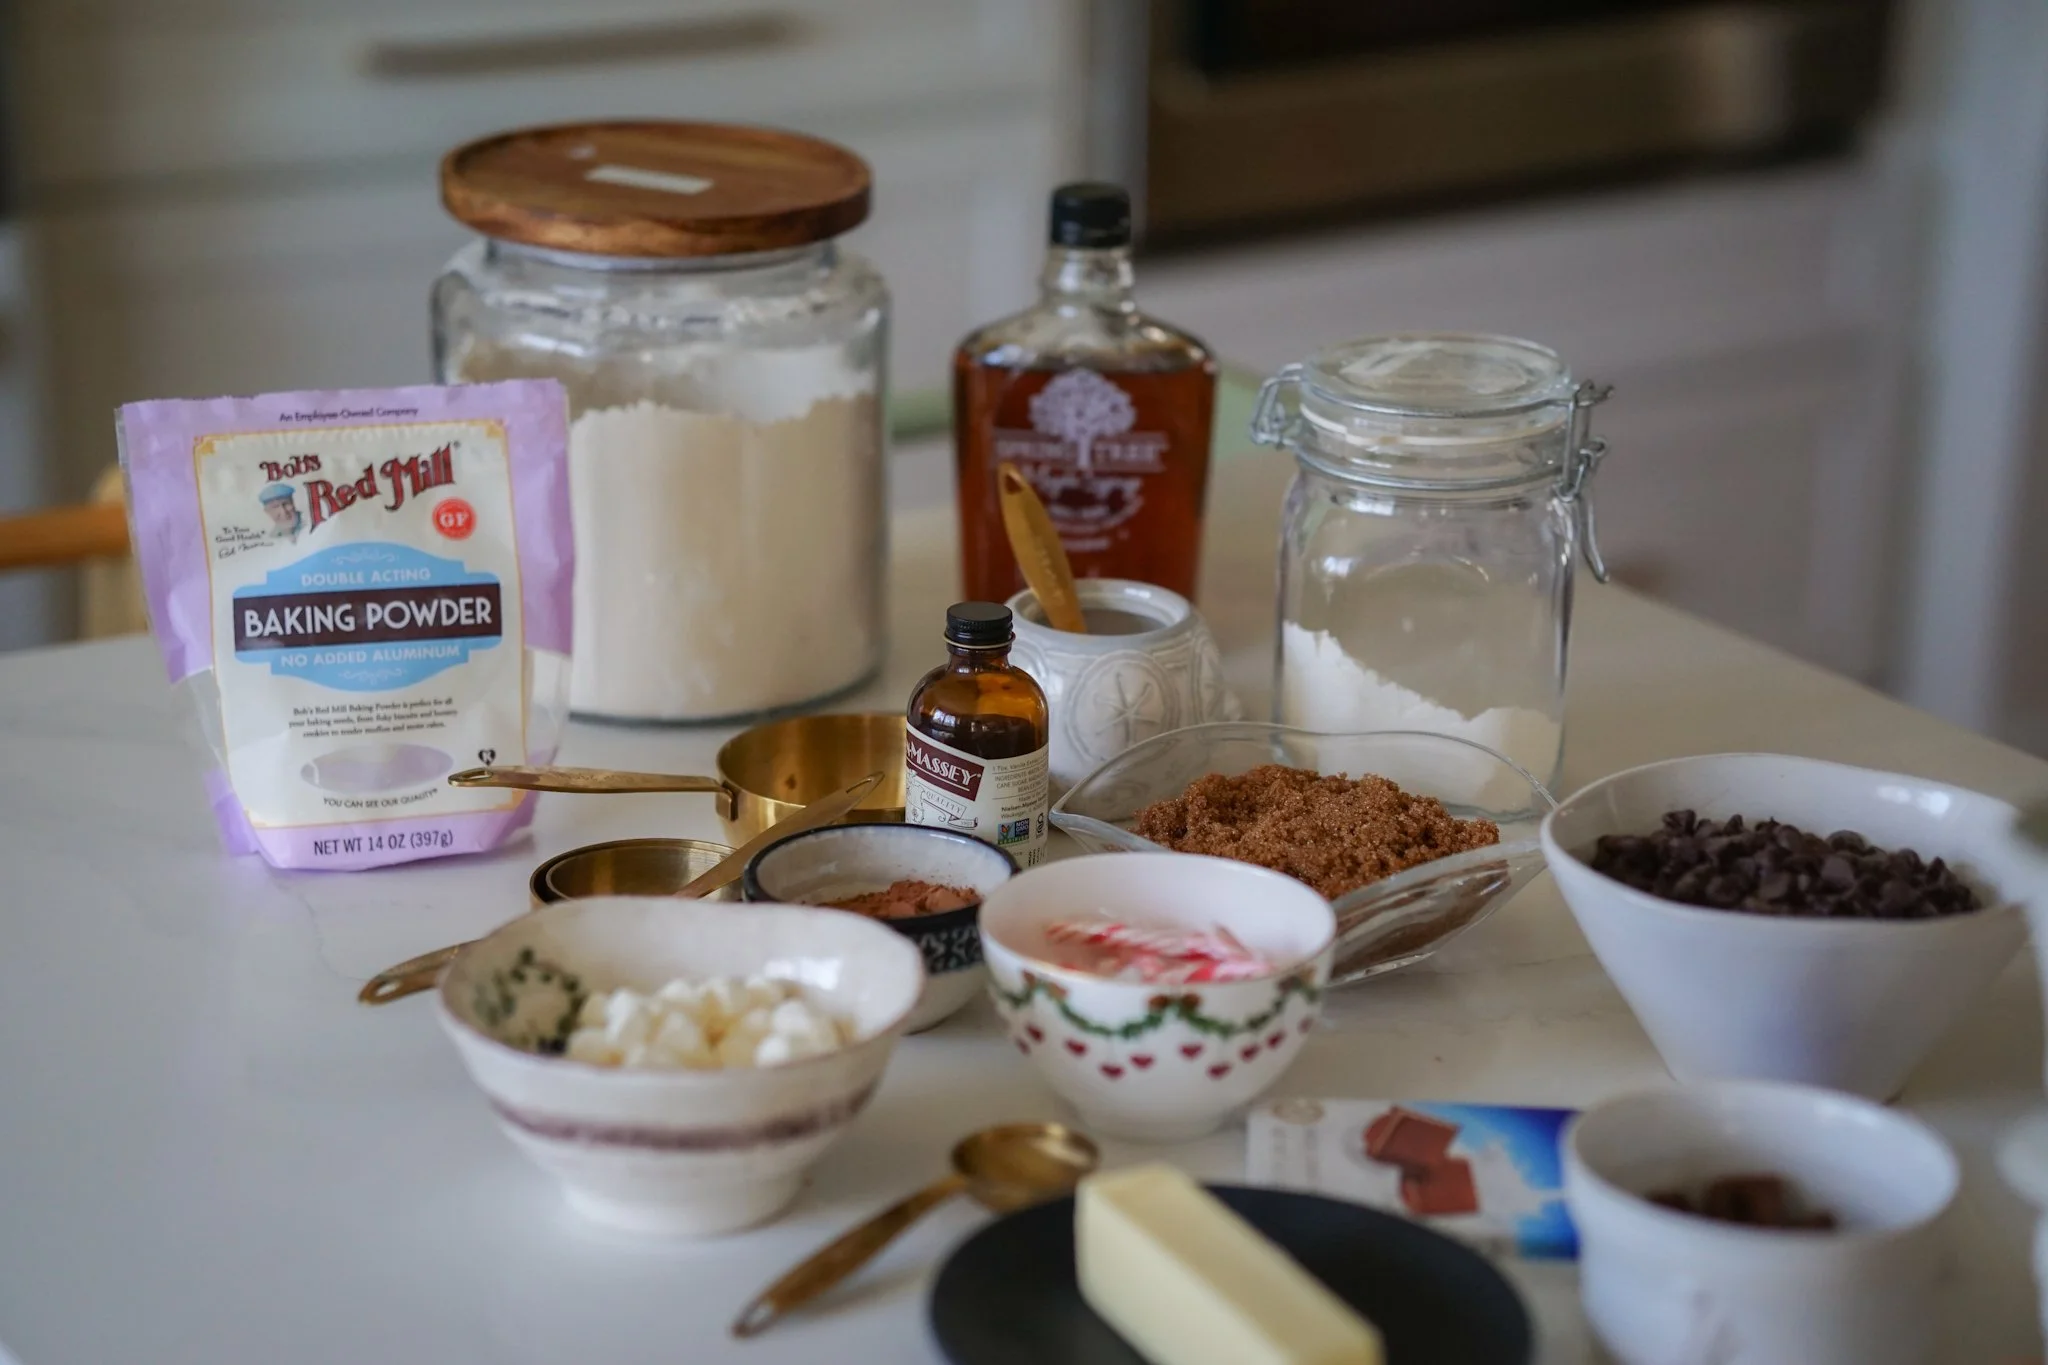
Ingredients
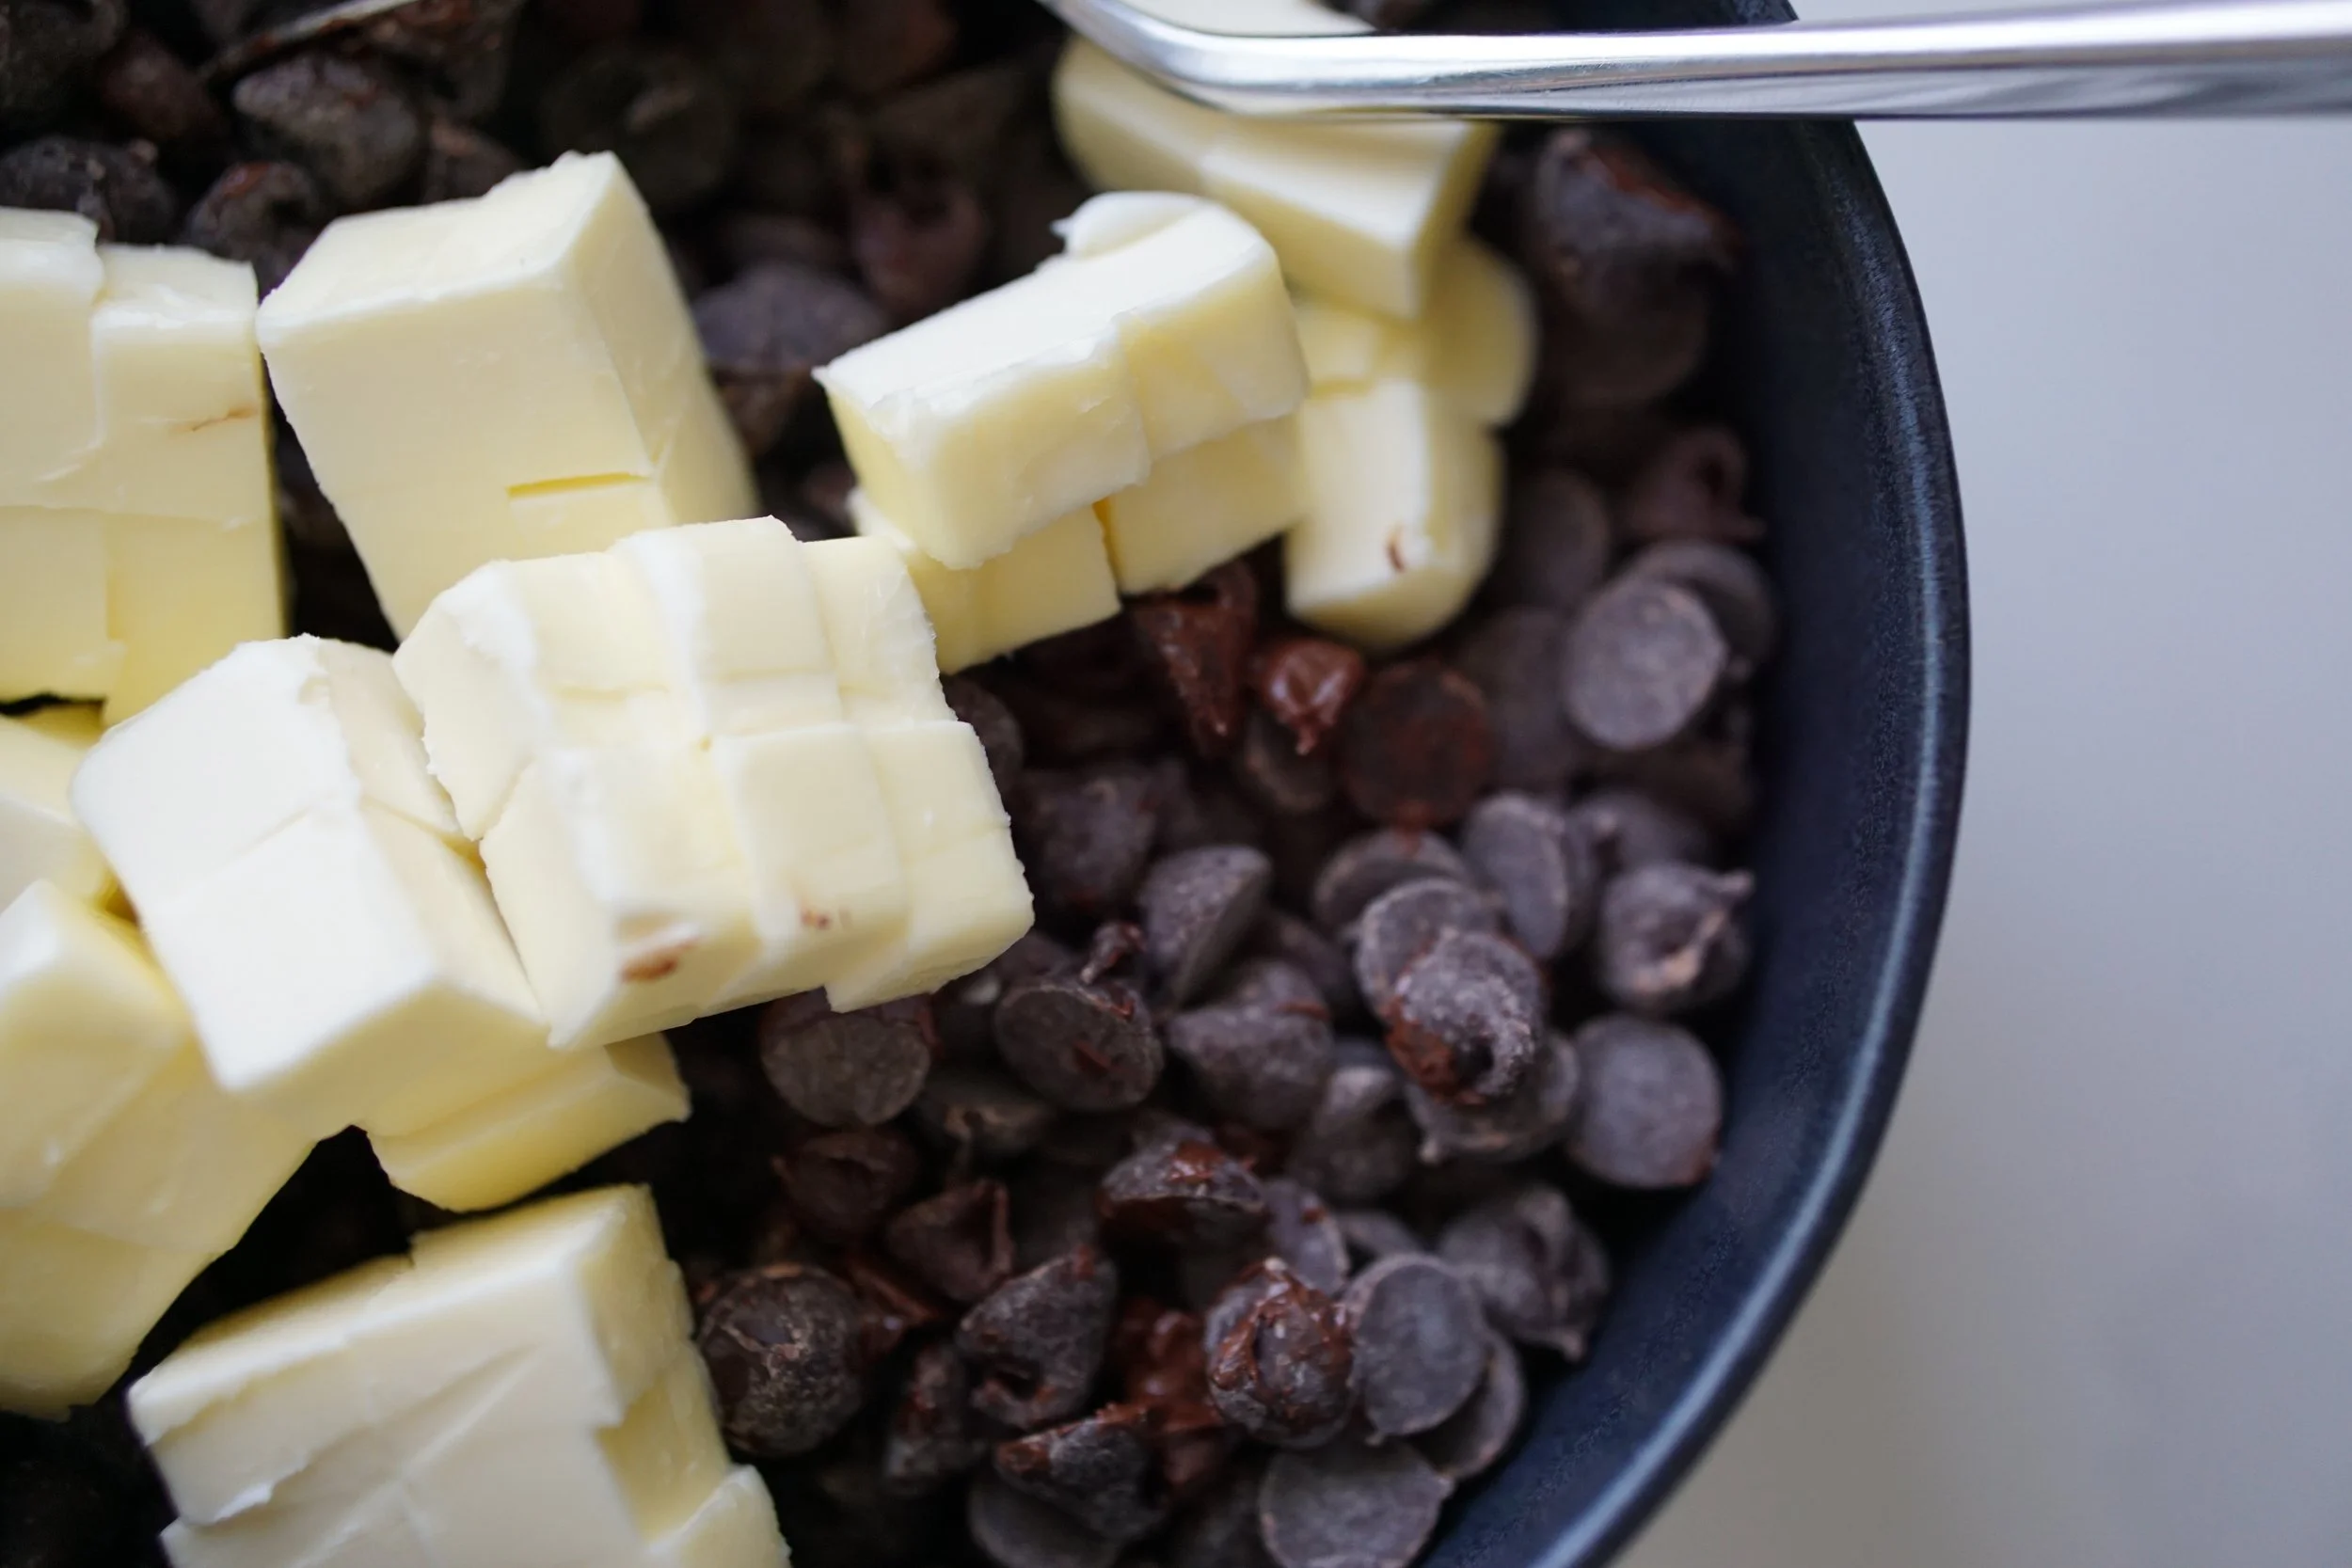
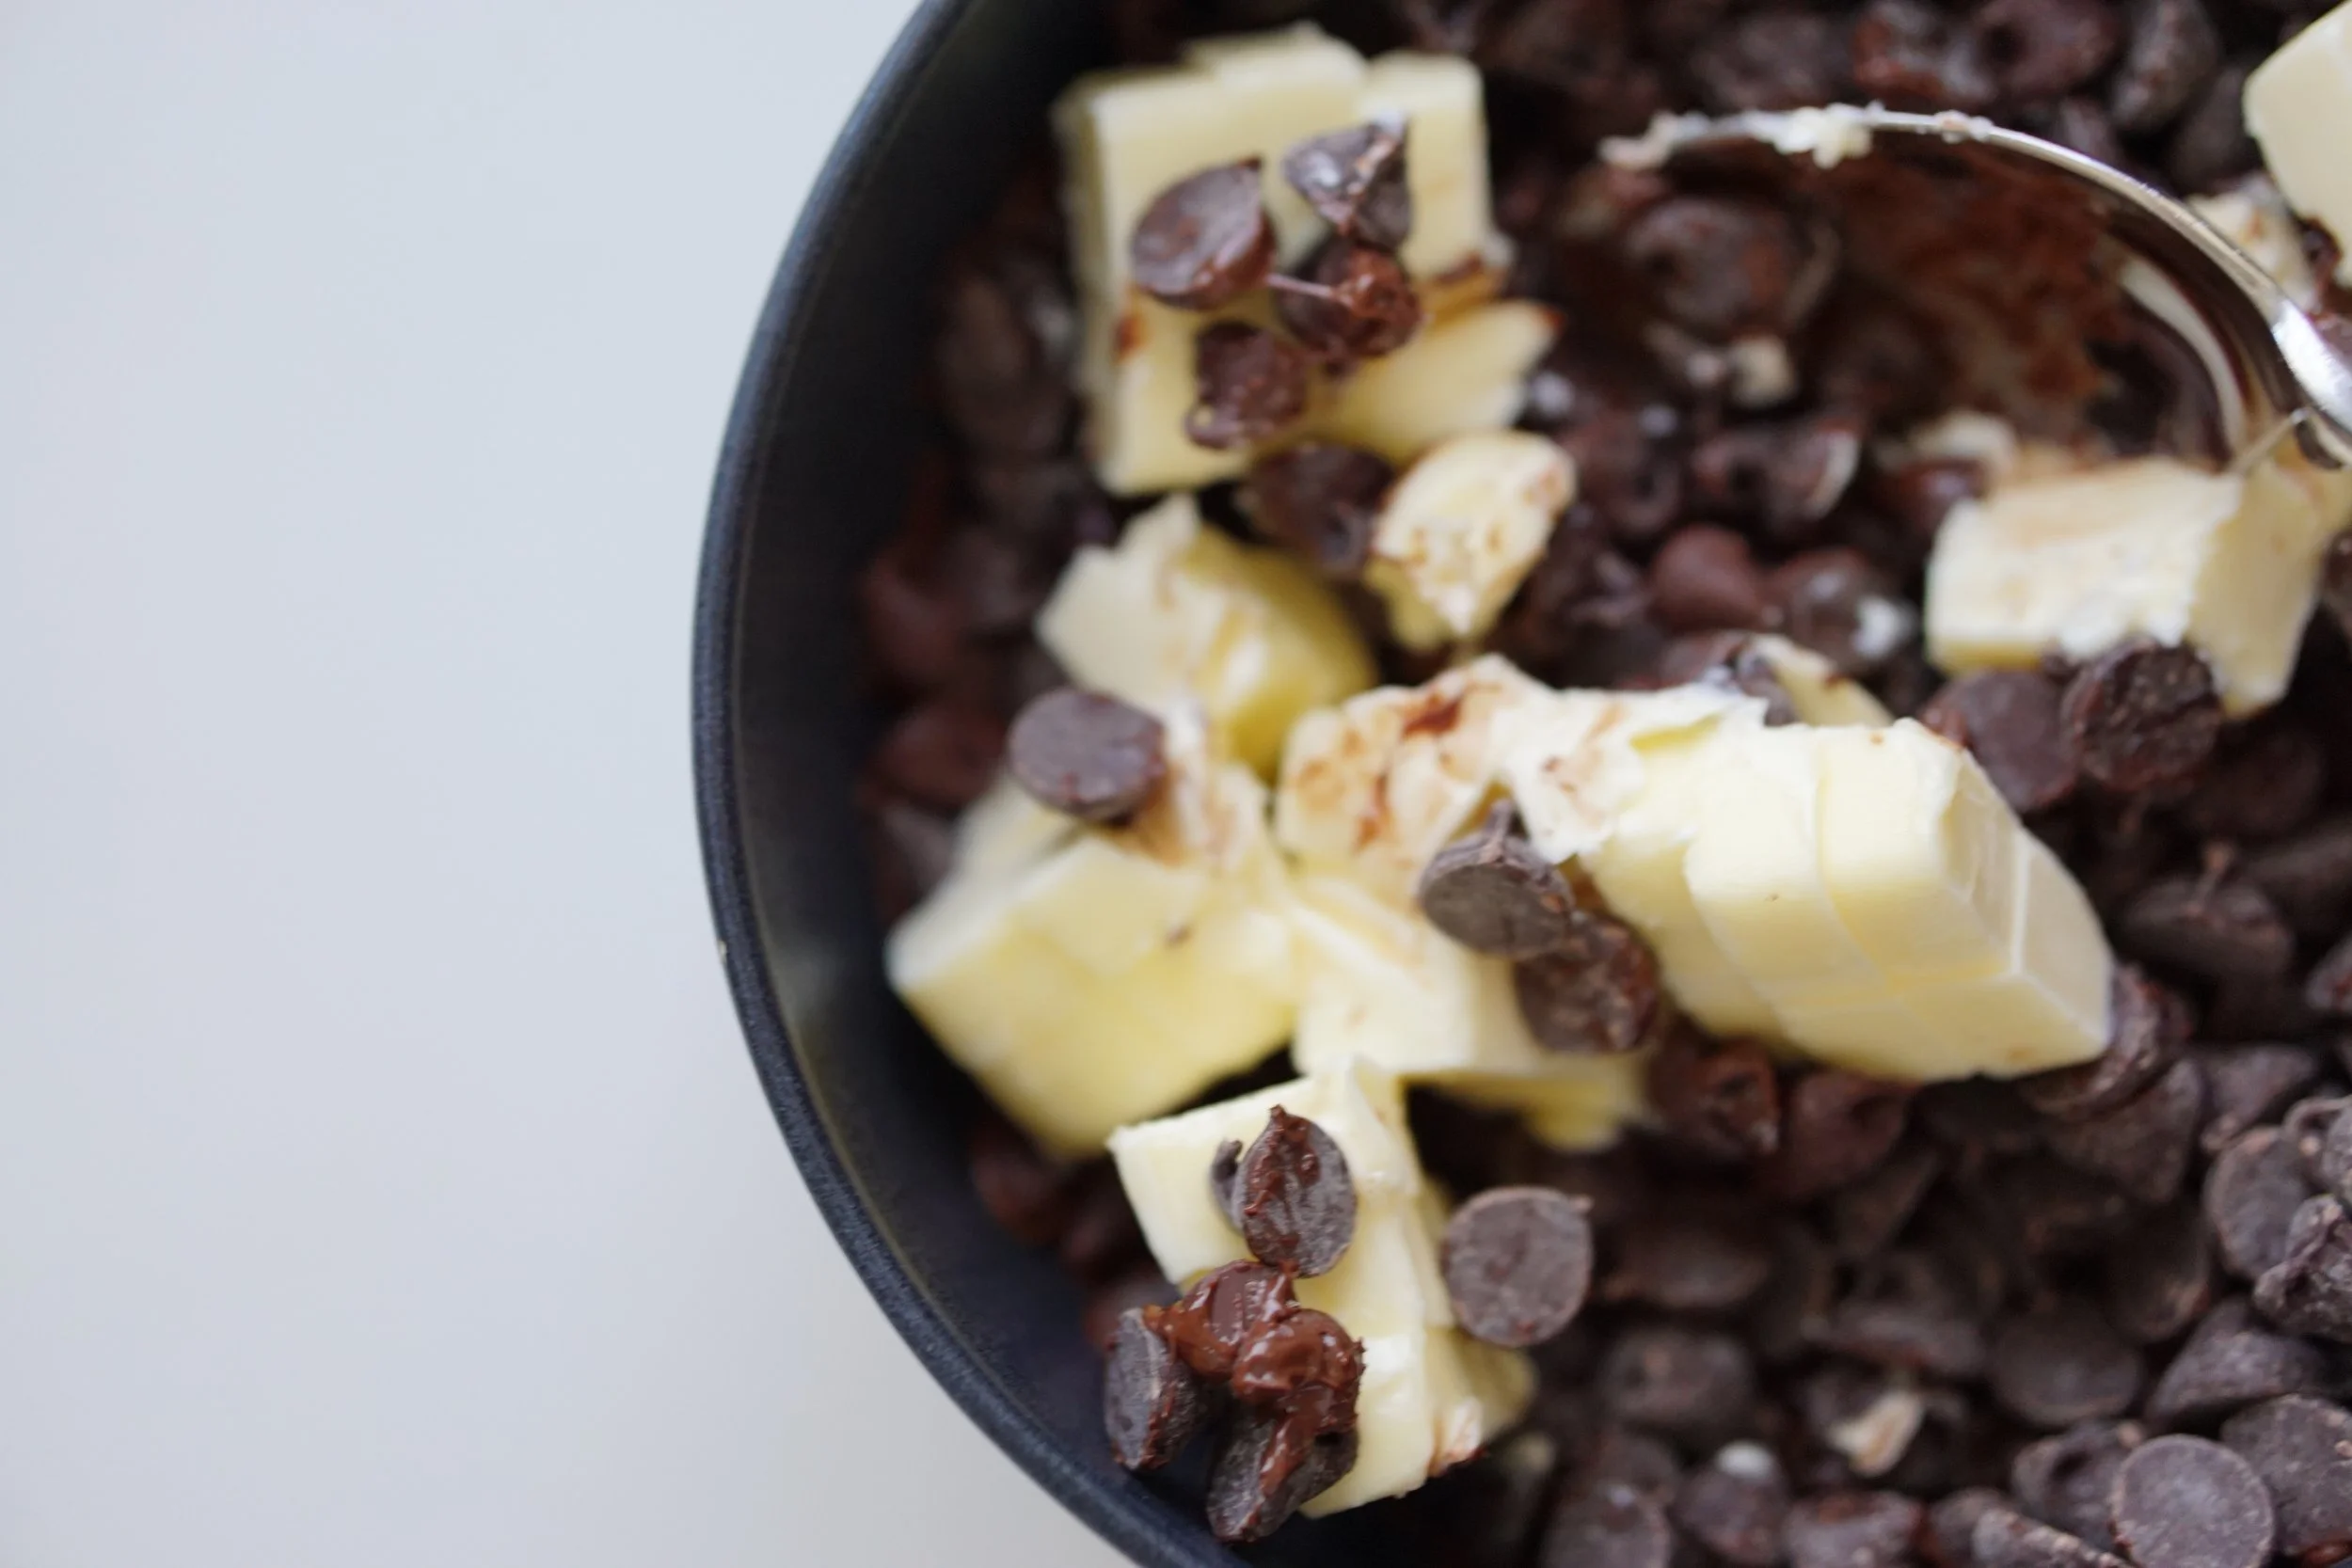
12oz bag of semi-sweet chocolate chips
1/2 cup of butter, cubed
1 cup all purpose flour
1 teaspoon cornstarch
1/2 teaspoon baking powder
1/2 teaspoon salt (fine sea salt or Kosher)
1/4 cup cocoa powder
1 cup brown sugar
2 eggs
1 egg yolk
1/4 cup maple syrup
1.5 teaspoons vanilla extract
1 tablespoon water
“Hot Chocolate” toppings:
Mini marshmallows, about 1/2 cup to 3/4 cup
Your favorite eating chocolate, roughly chopped - roughly 1/4 cup to 1/2 cup. Our favorite here is Lindt milk chocolate
A few candy canes, crushed
1. Preheat your oven to 350ºF. Take your eggs out to get to room temperature about 30 minutes prior to baking. Put your mini marshmallows in the freezer.
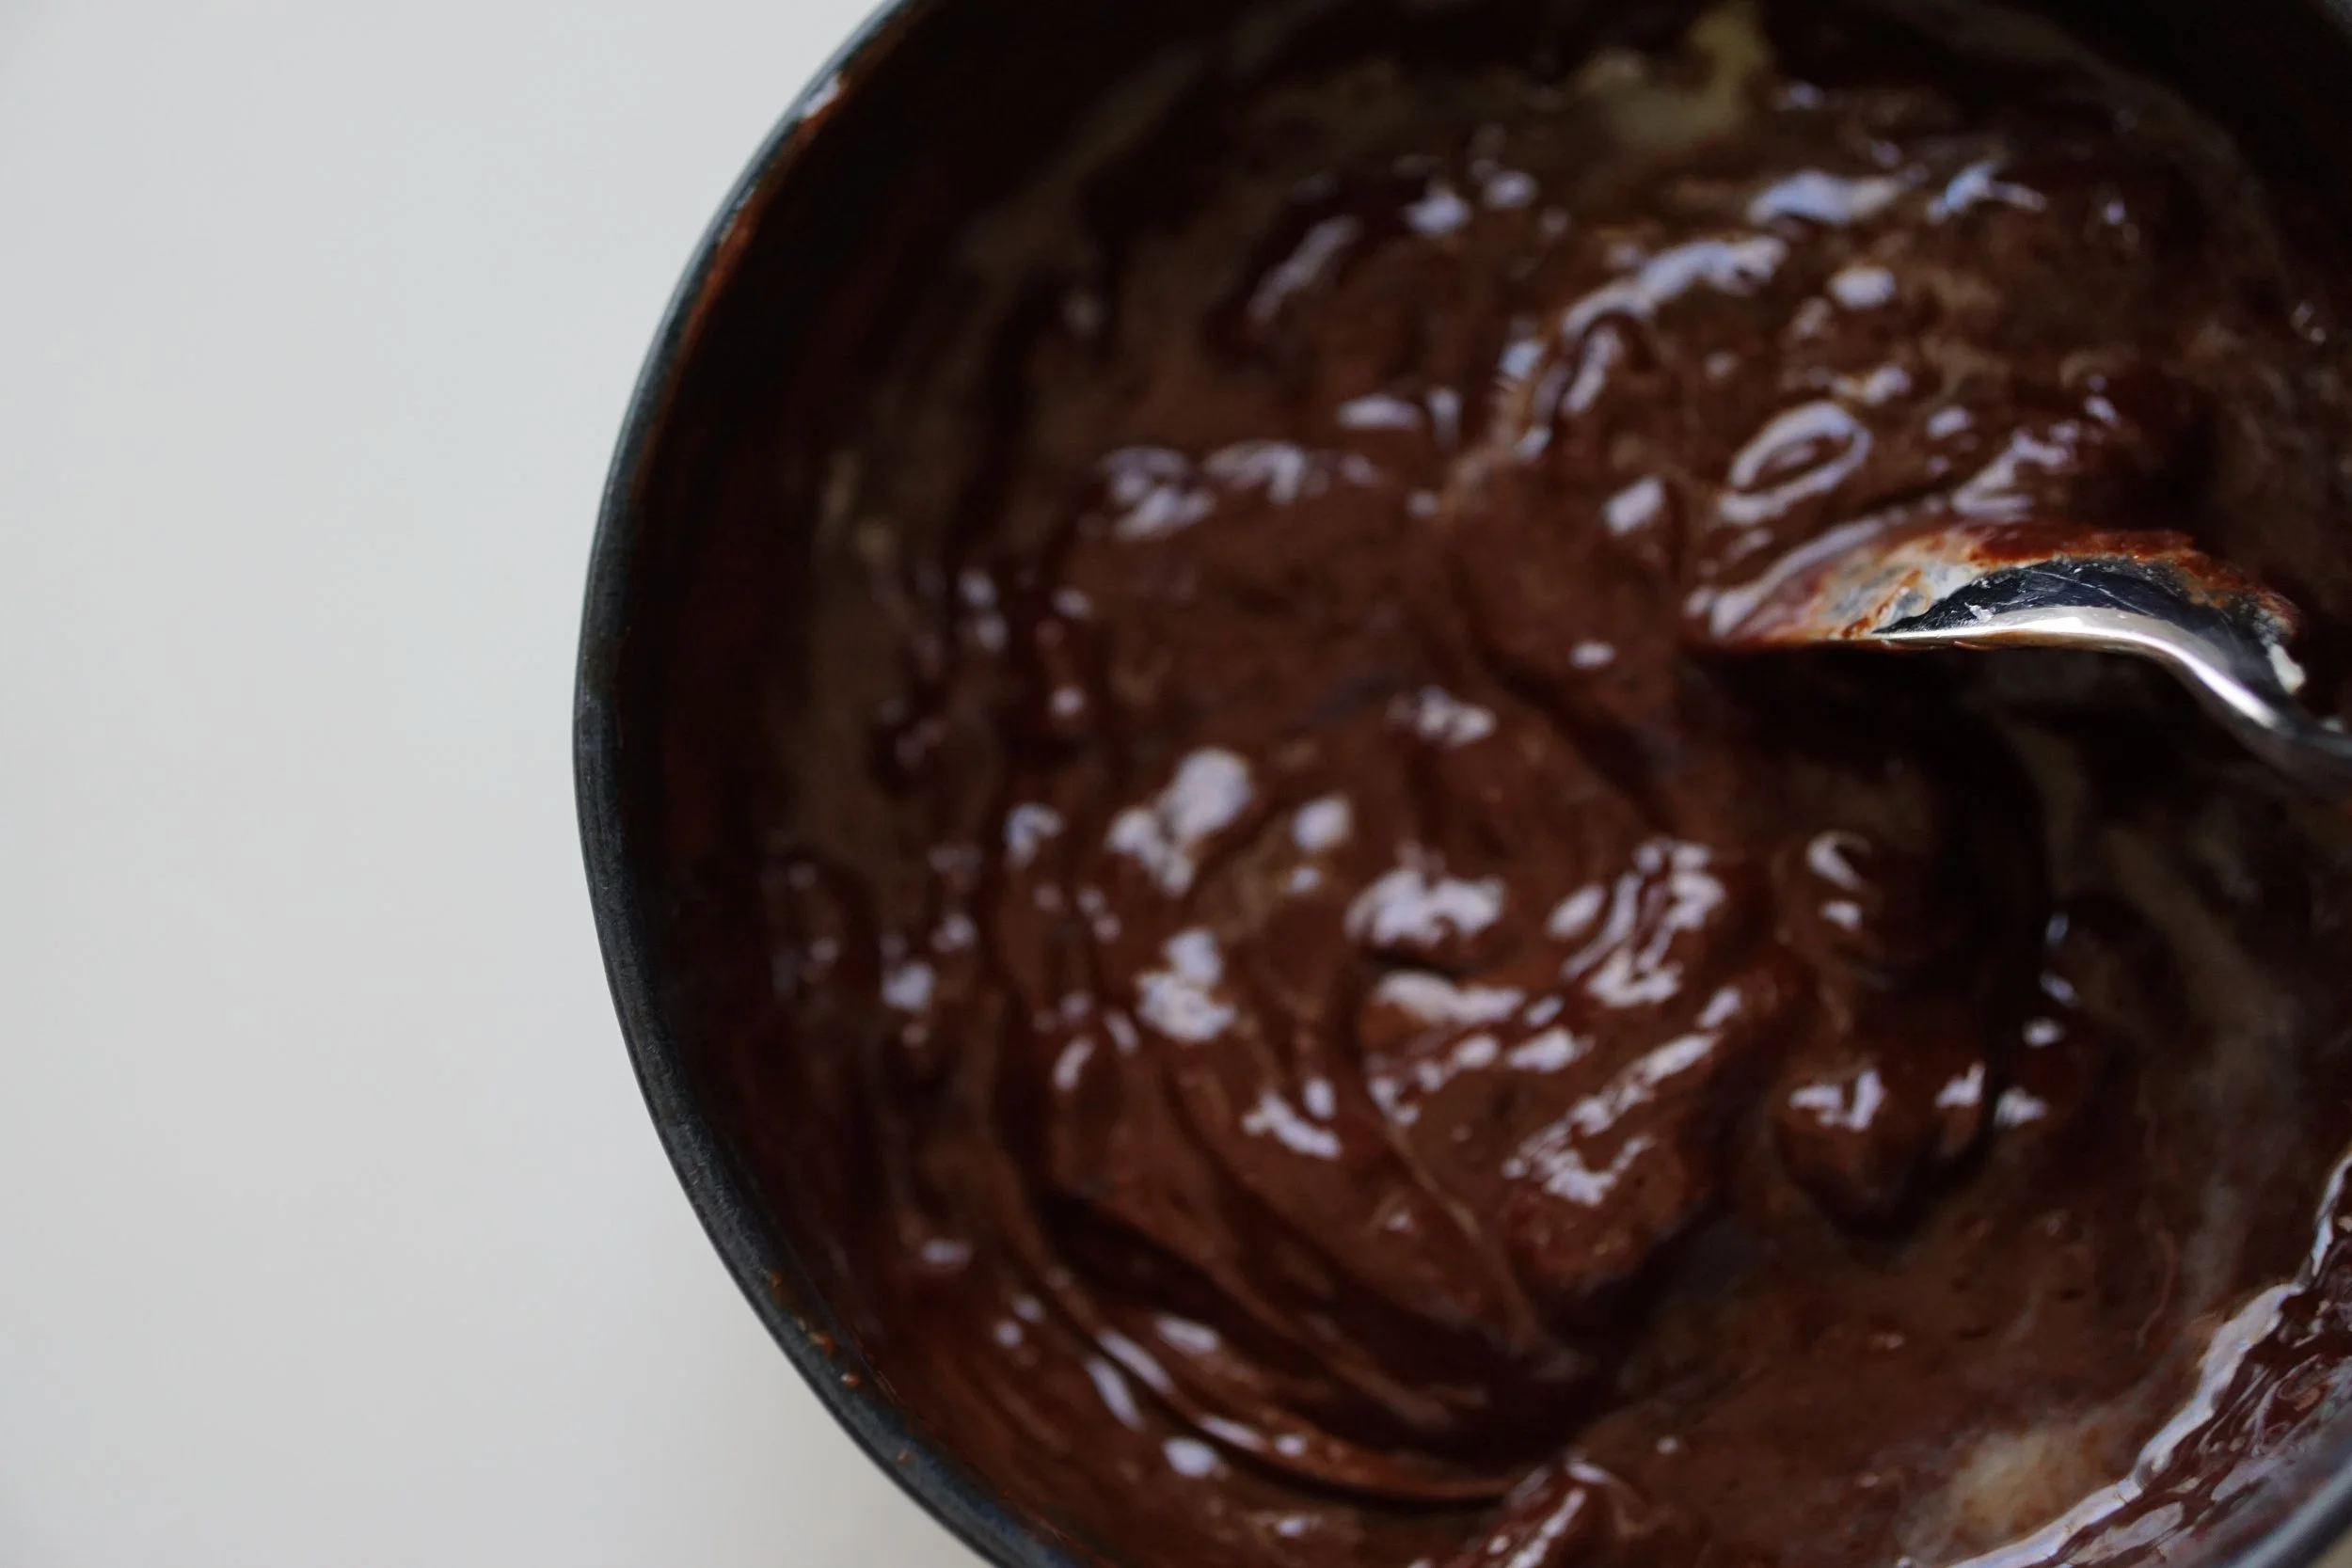
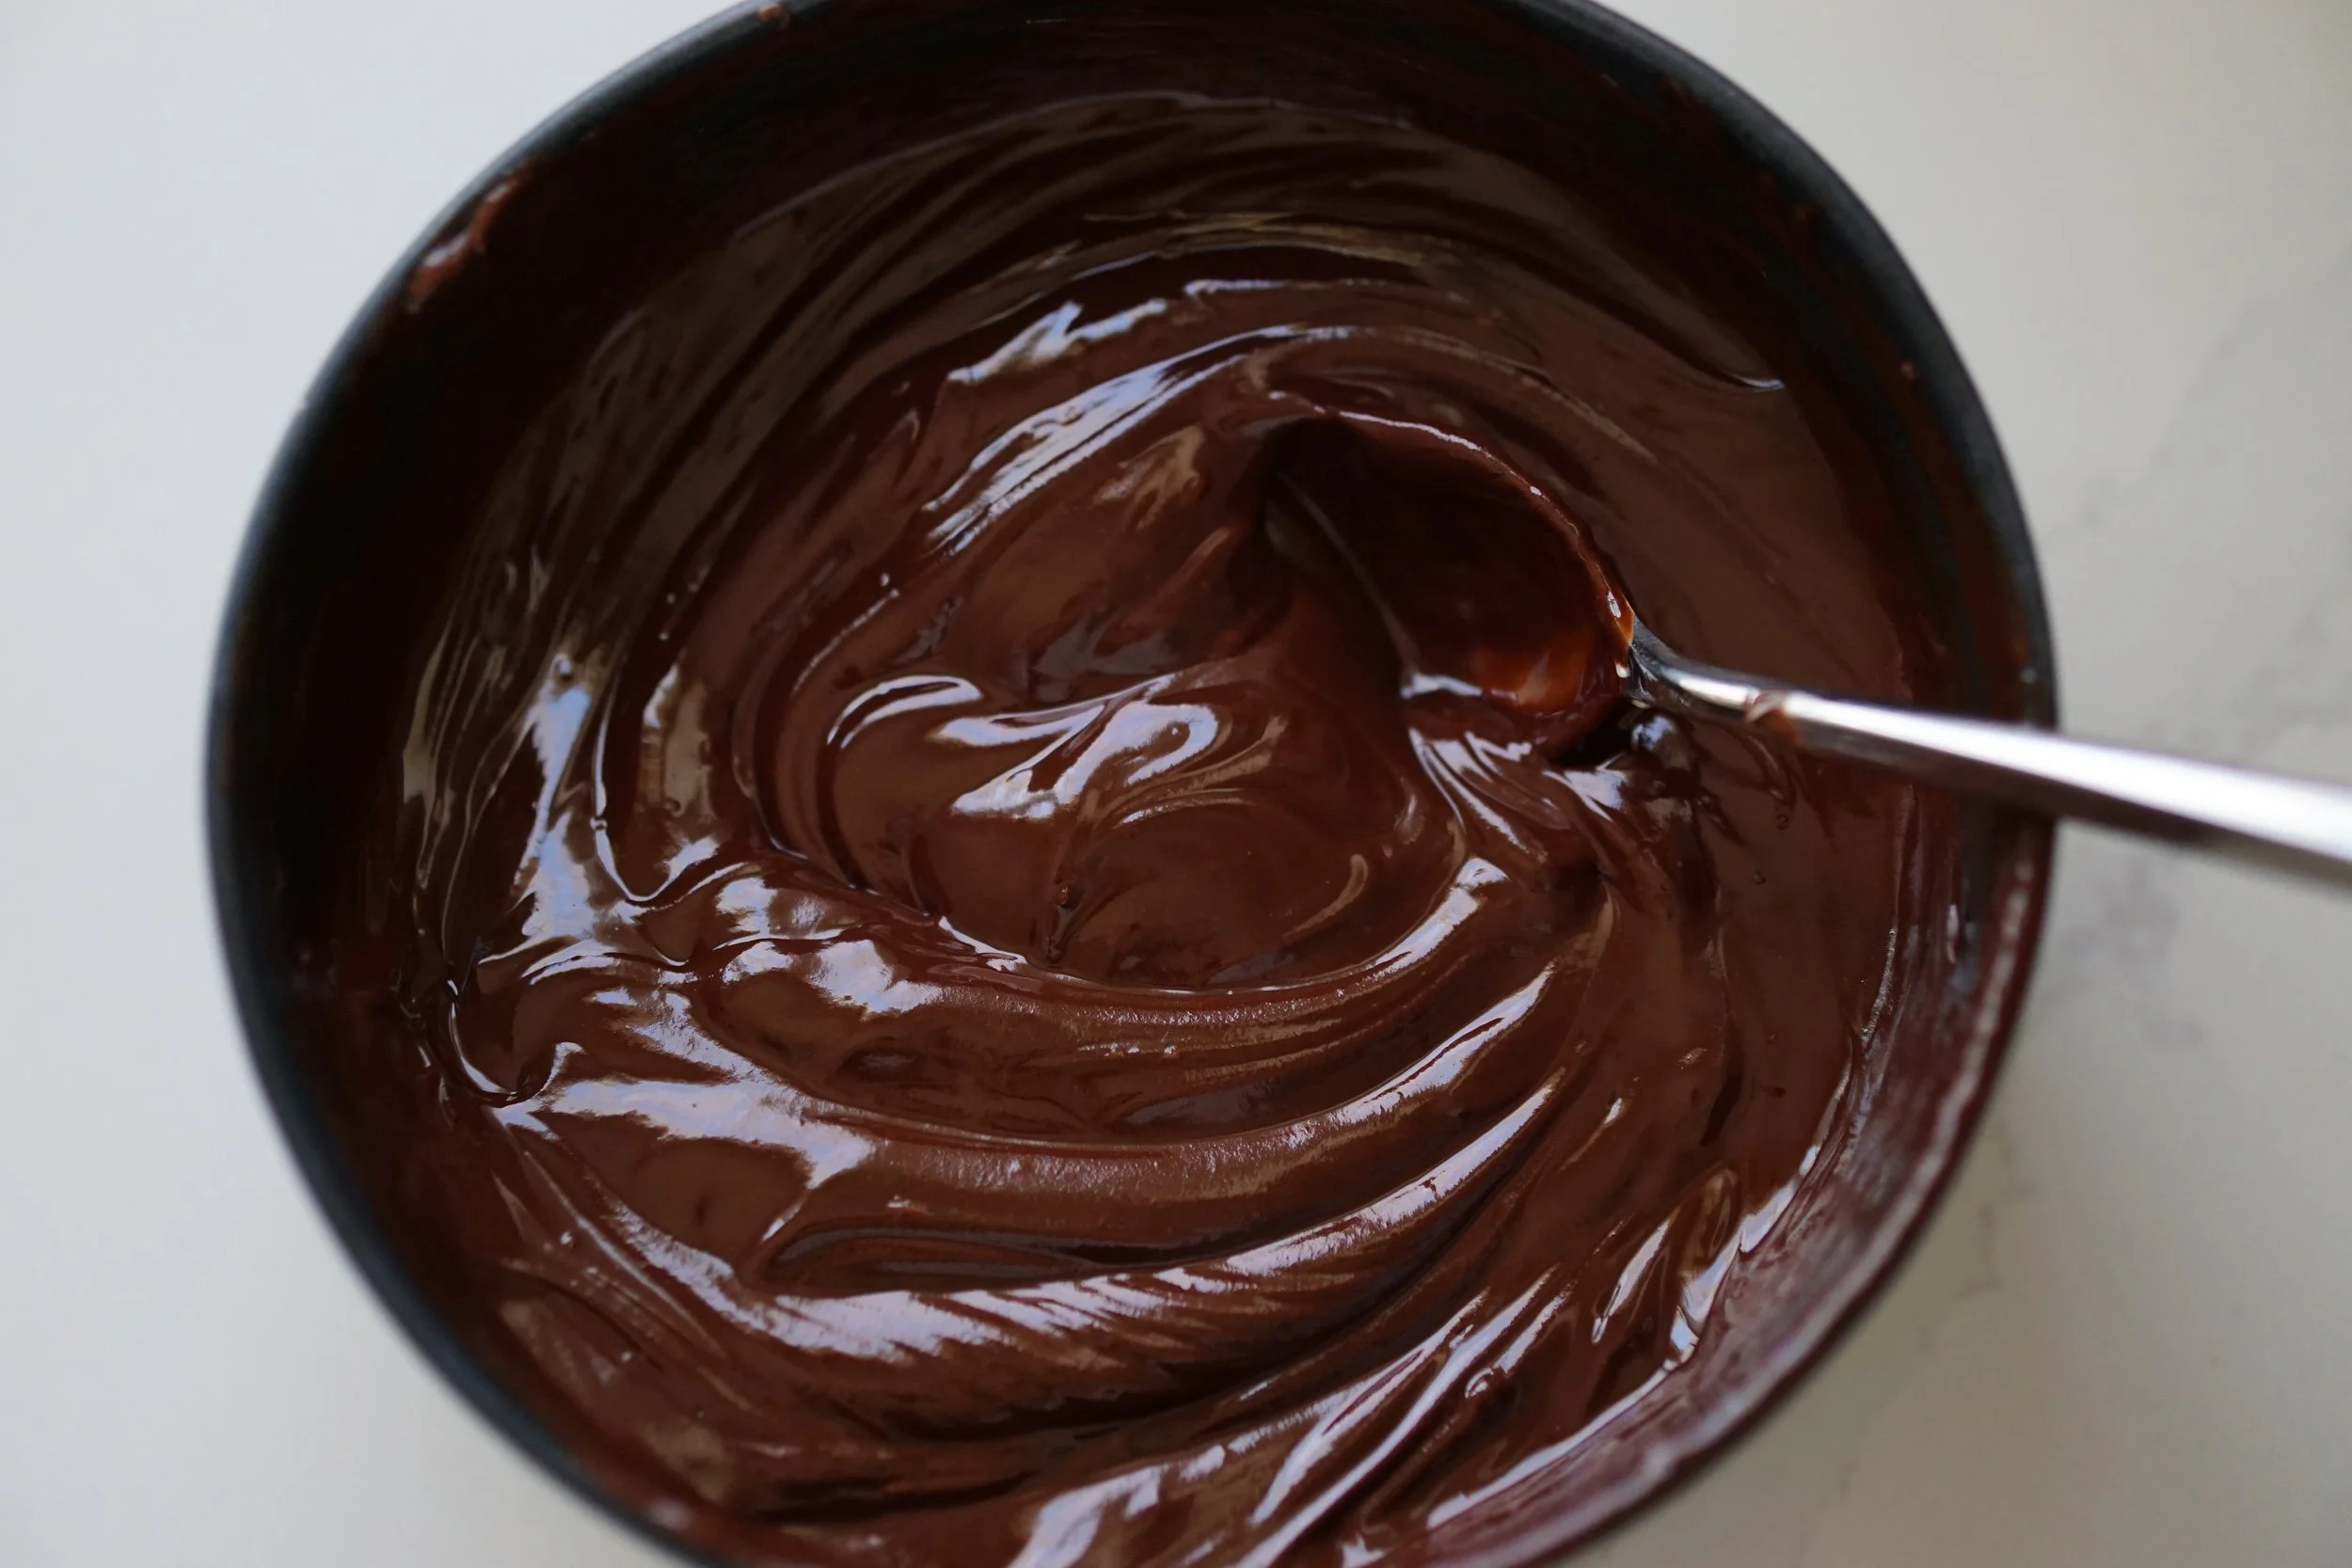
2. Melt semi-sweet chocolate and cubed butter together. Use whatever method you prefer here:
Double boiler method: using a heat proof bowl set over a pot of simmering water (ensuring the bottom of the bowl does not touch the water), melt the semi-sweet chocolate and butter together. Stir frequently until the mixture is uniform and smooth. Set the bowl aside to cool.
Microwave method: in 20-30 second increments on high heat in a microwave safe bowl, melt the chocolate and butter together. Stir between each increment. Repeat until the mixture is uniform and smooth (about 3 increments for us). Set the bowl aside to cool.
3. Combine your dry ingredients in a separate medium to large sized bowl: flour, cornstarch, baking powder, salt, and cocoa powder. I typically use a sifter with flour these days. It’s fun (my toddler Nellie actually always loves to do it) and useful in many recipes for smoother mixing. Whisk all dry ingredients together until combined.
4. In the bowl of your standing mixer (or yet another bowl and a handheld mixer), whisk attachment, combine the brown sugar, 2 eggs, and 1 egg yolk on medium speed until thick and combined, maybe 3-4 minutes. It should turn a nice caramel color.
5. Add the maple syrup and vanilla. Mix on medium speed until combined (another minute or so).
6. Add the melted chocolate mixture, and mix on medium speed until combined (another 2-3 minutes).
7. Add the dry ingredients in batches. Add maybe a quarter of the dry ingredients, mix on low until just combined, and then repeat until all of the dry ingredients are incorporated. Only mix each batch in until you can’t see any more flour, and scrape down the sides if needed.

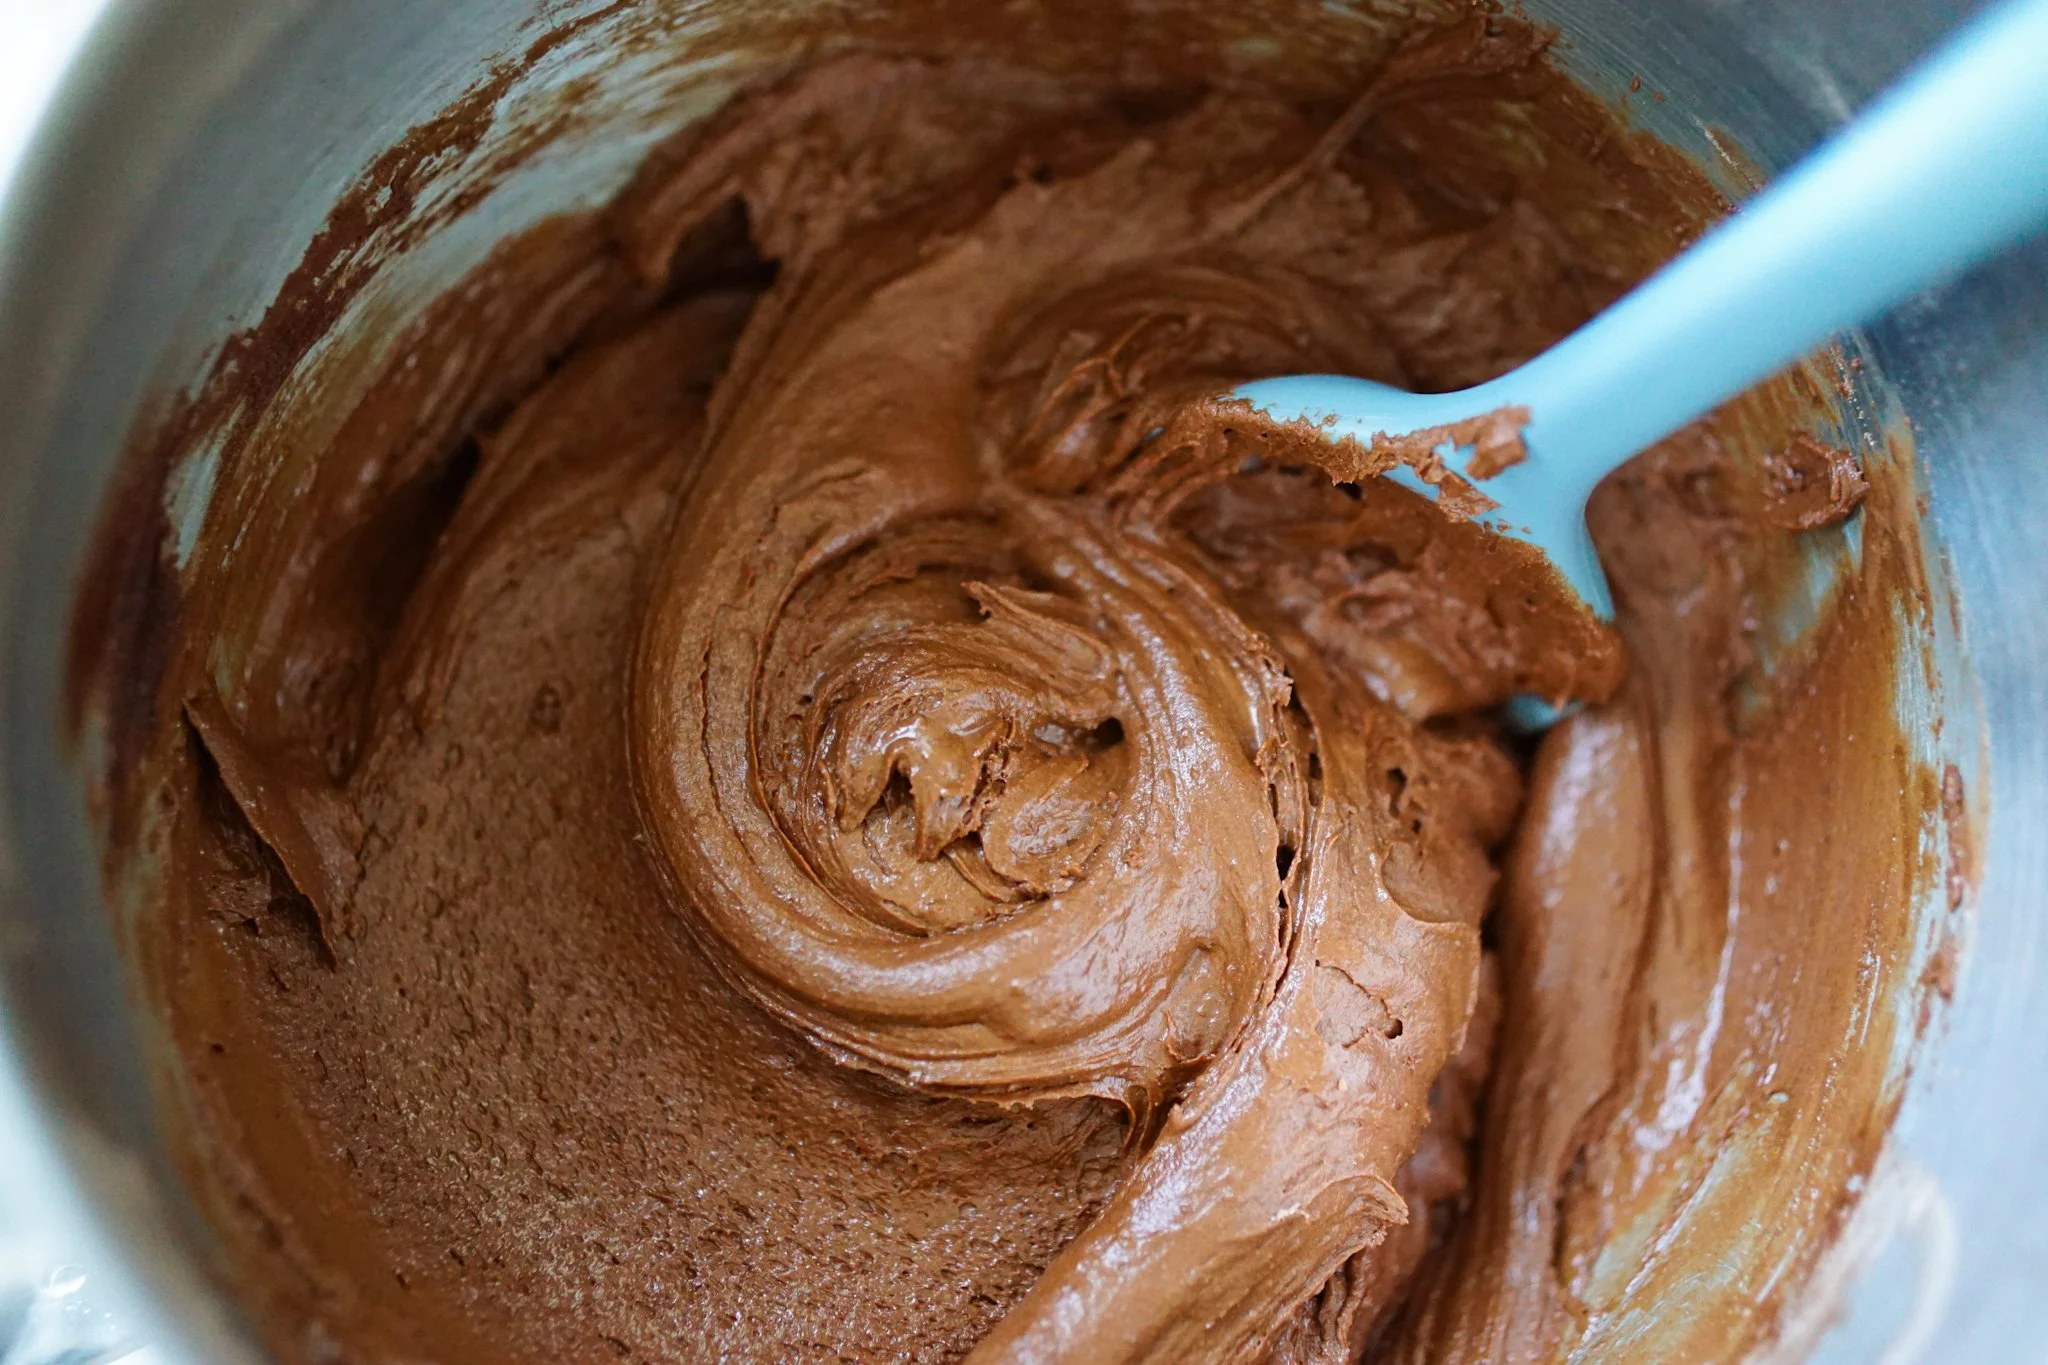
8. Add the tablespoon of water and mix on low for a few more seconds until combined. The mixture will be thick and chocolate-y.
9. Cover the bowl with plastic wrap and refridgerate for 15-30 minutes. While your dough is chilling, do any final prep: crush your candy canes, break your favorite chocolate into pieces, line two baking trays with parchment paper, preheat your oven to 350ºF if you haven’t yet—or sit down for a little break!
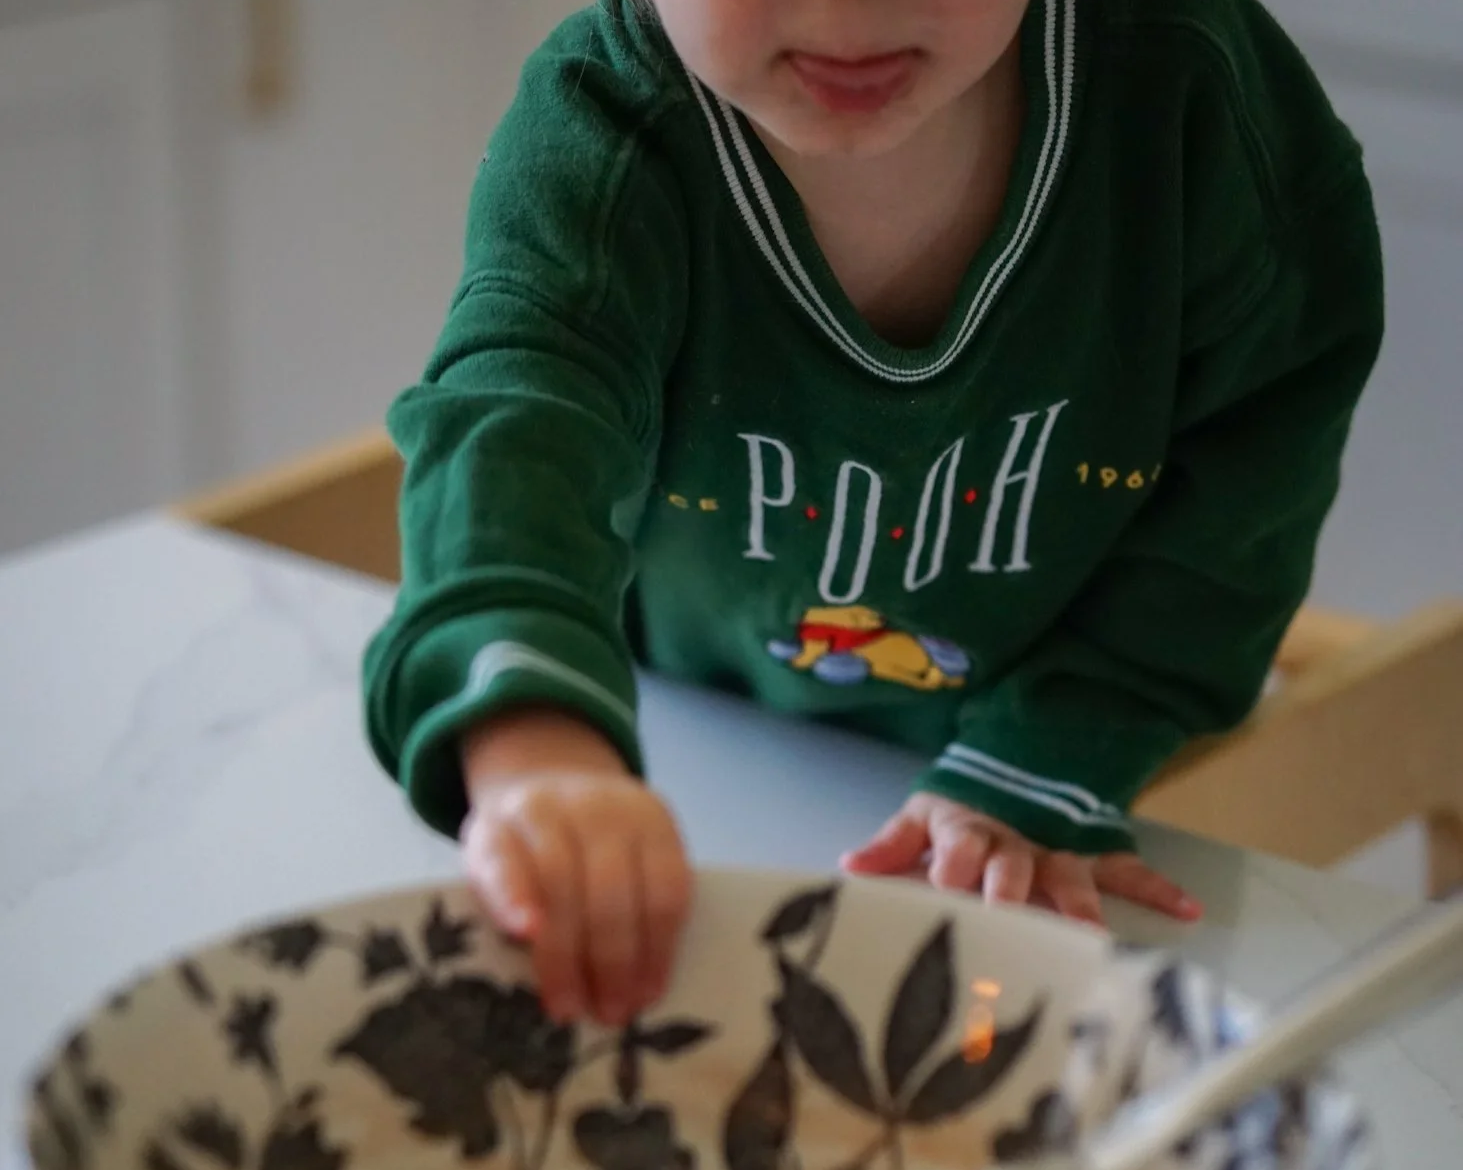
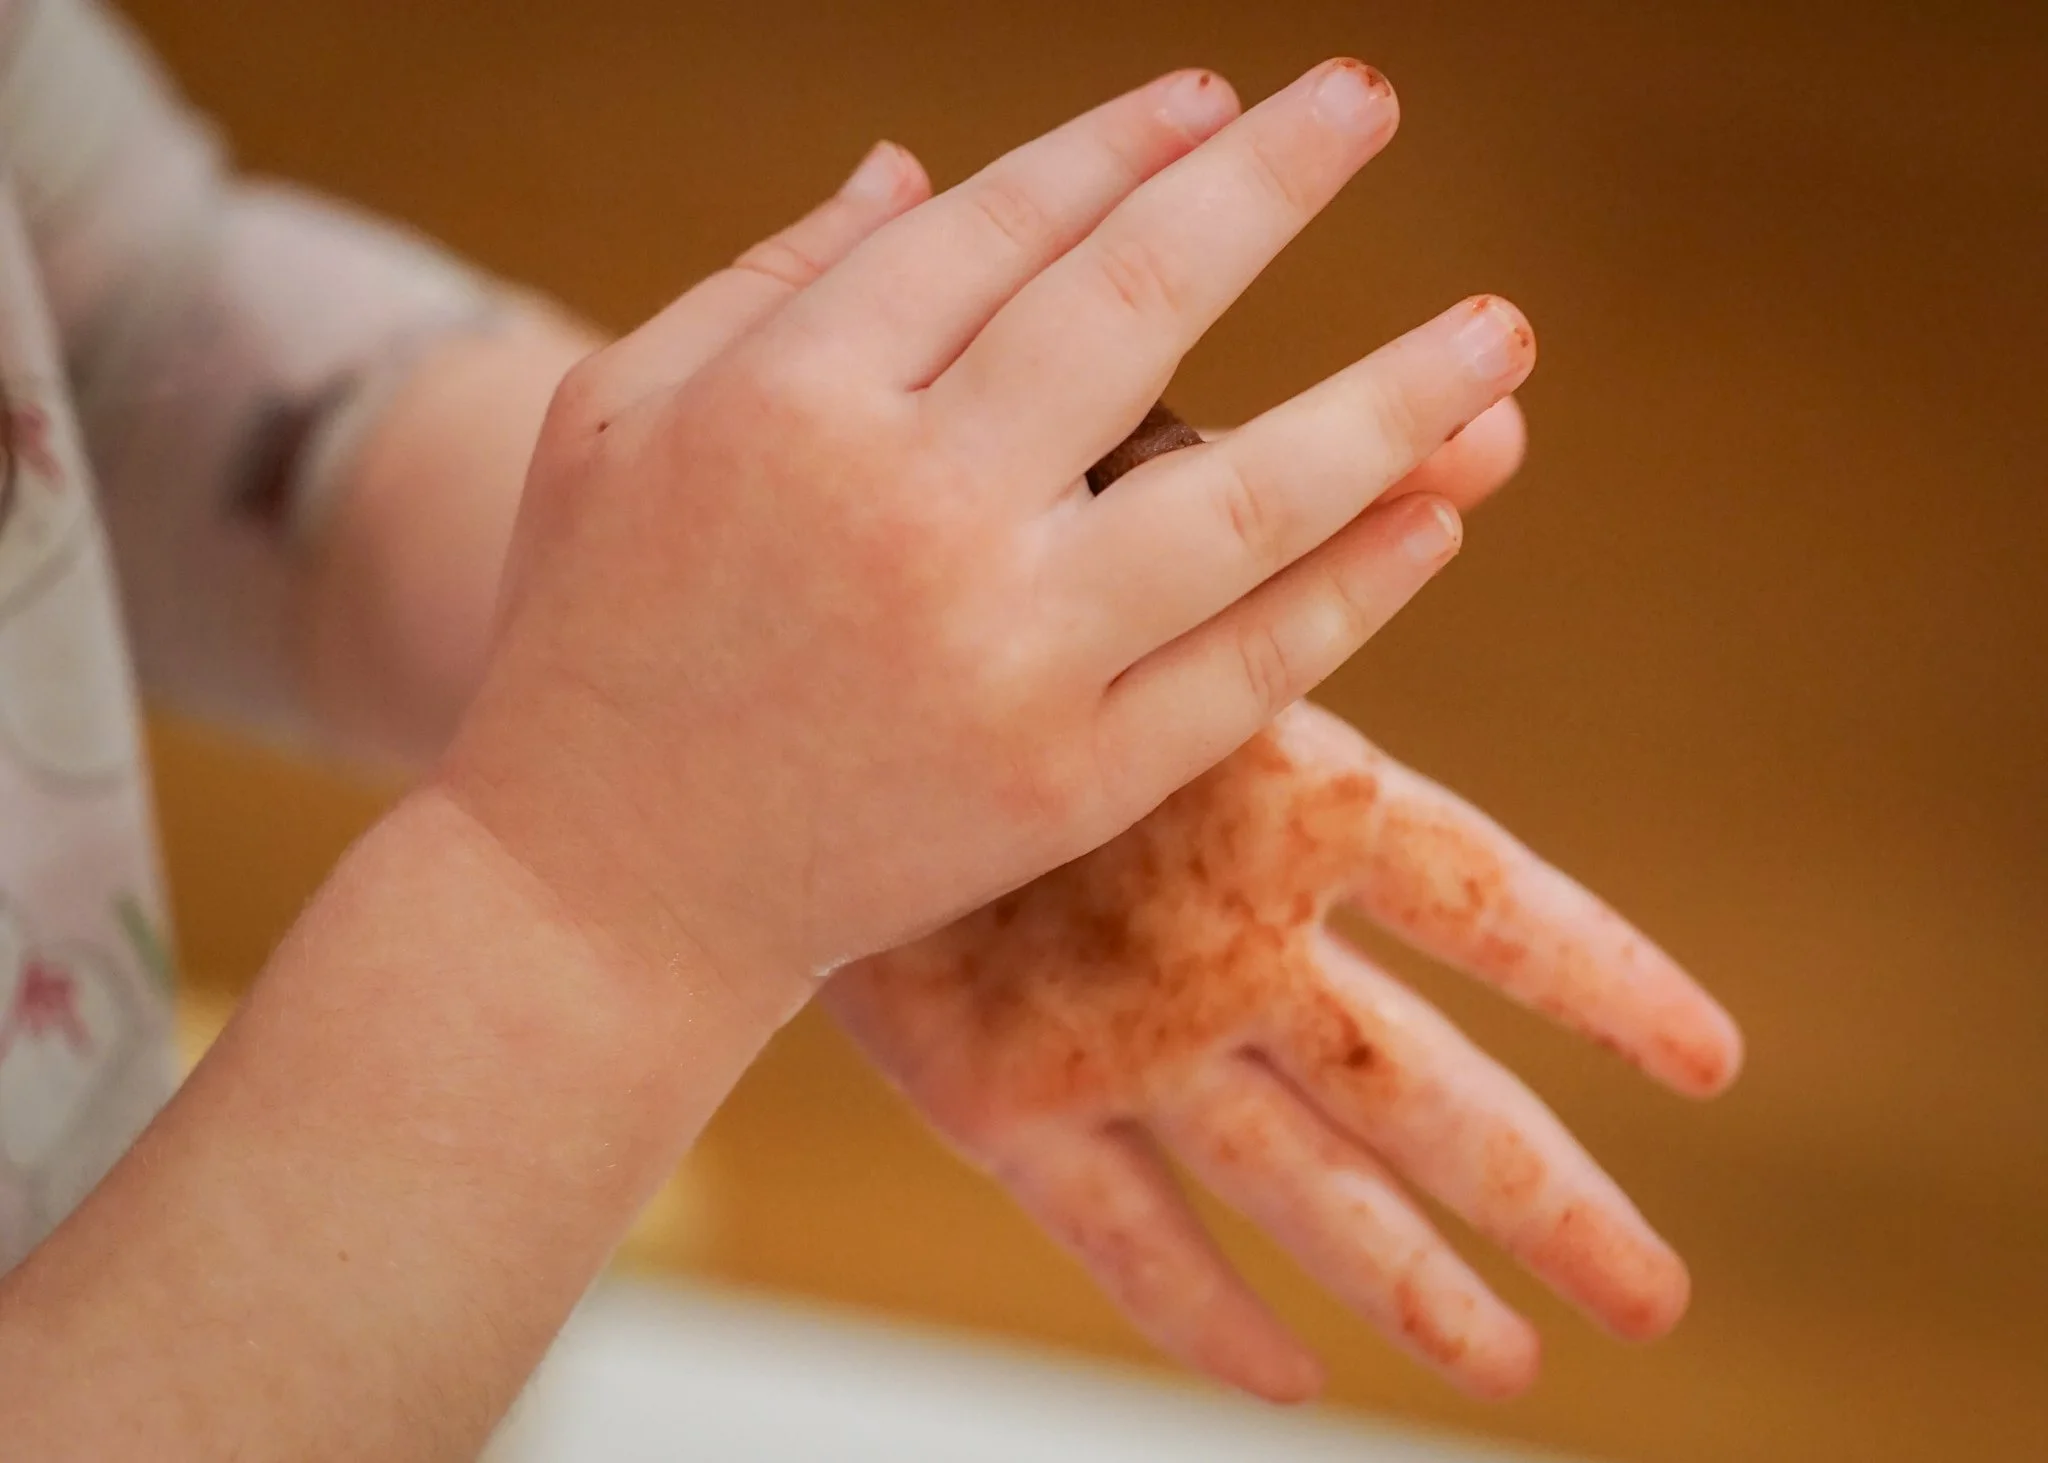
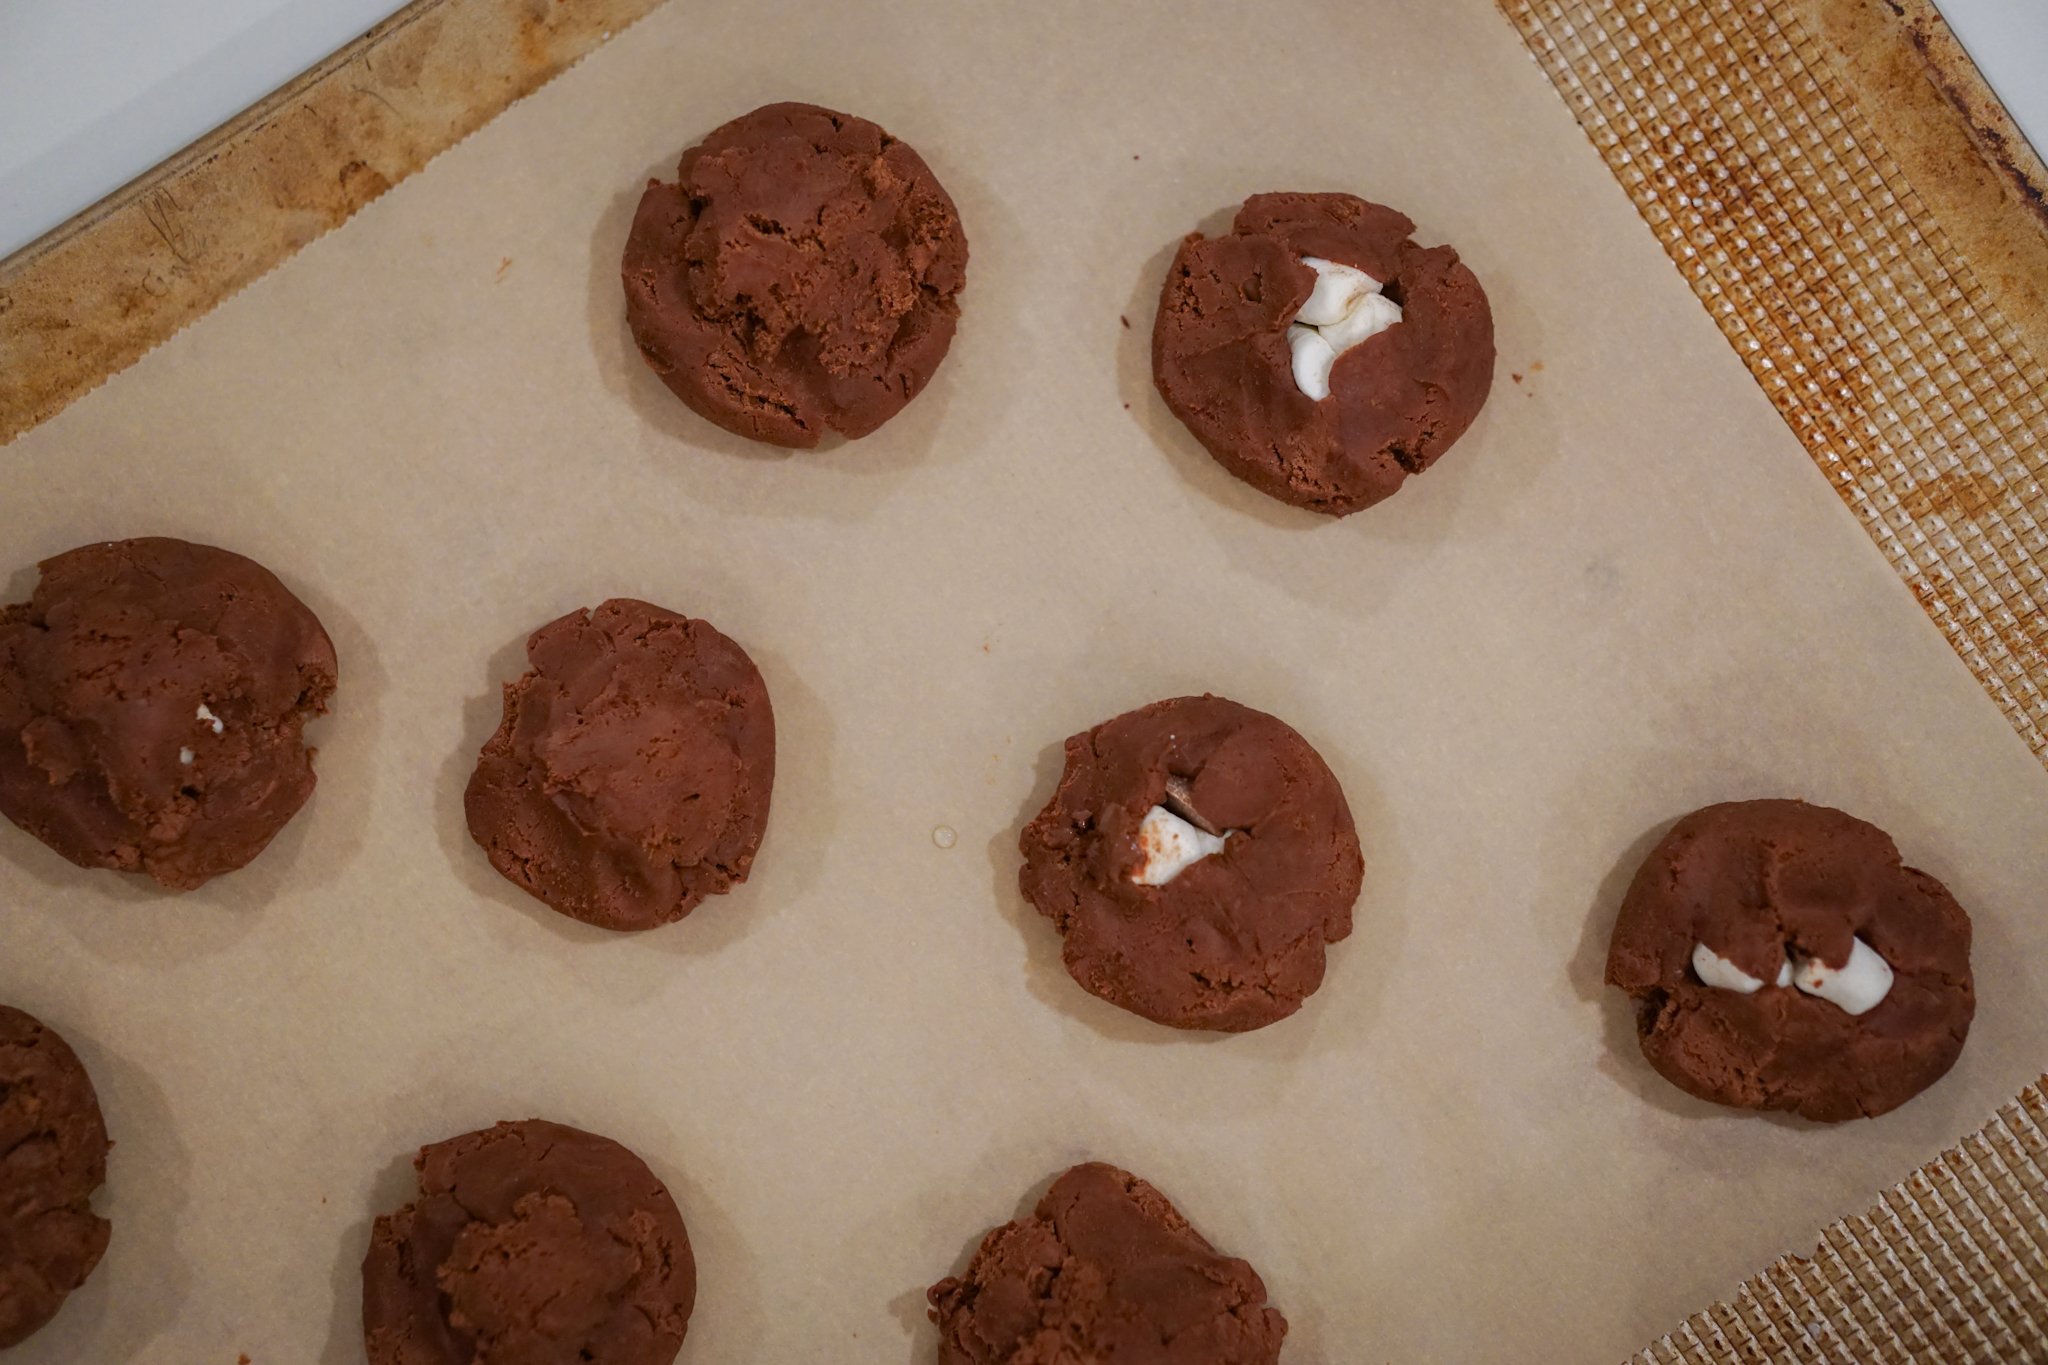
10. Pull the dough out of the fridge. This part is a bit messy, but fun! My toddlers loved it. Form into 2-3 inch balls and place on the baking trays. Leave some dough in the bowl, maybe enough leftover to form one more ball. You’ll use this extra in a few steps.
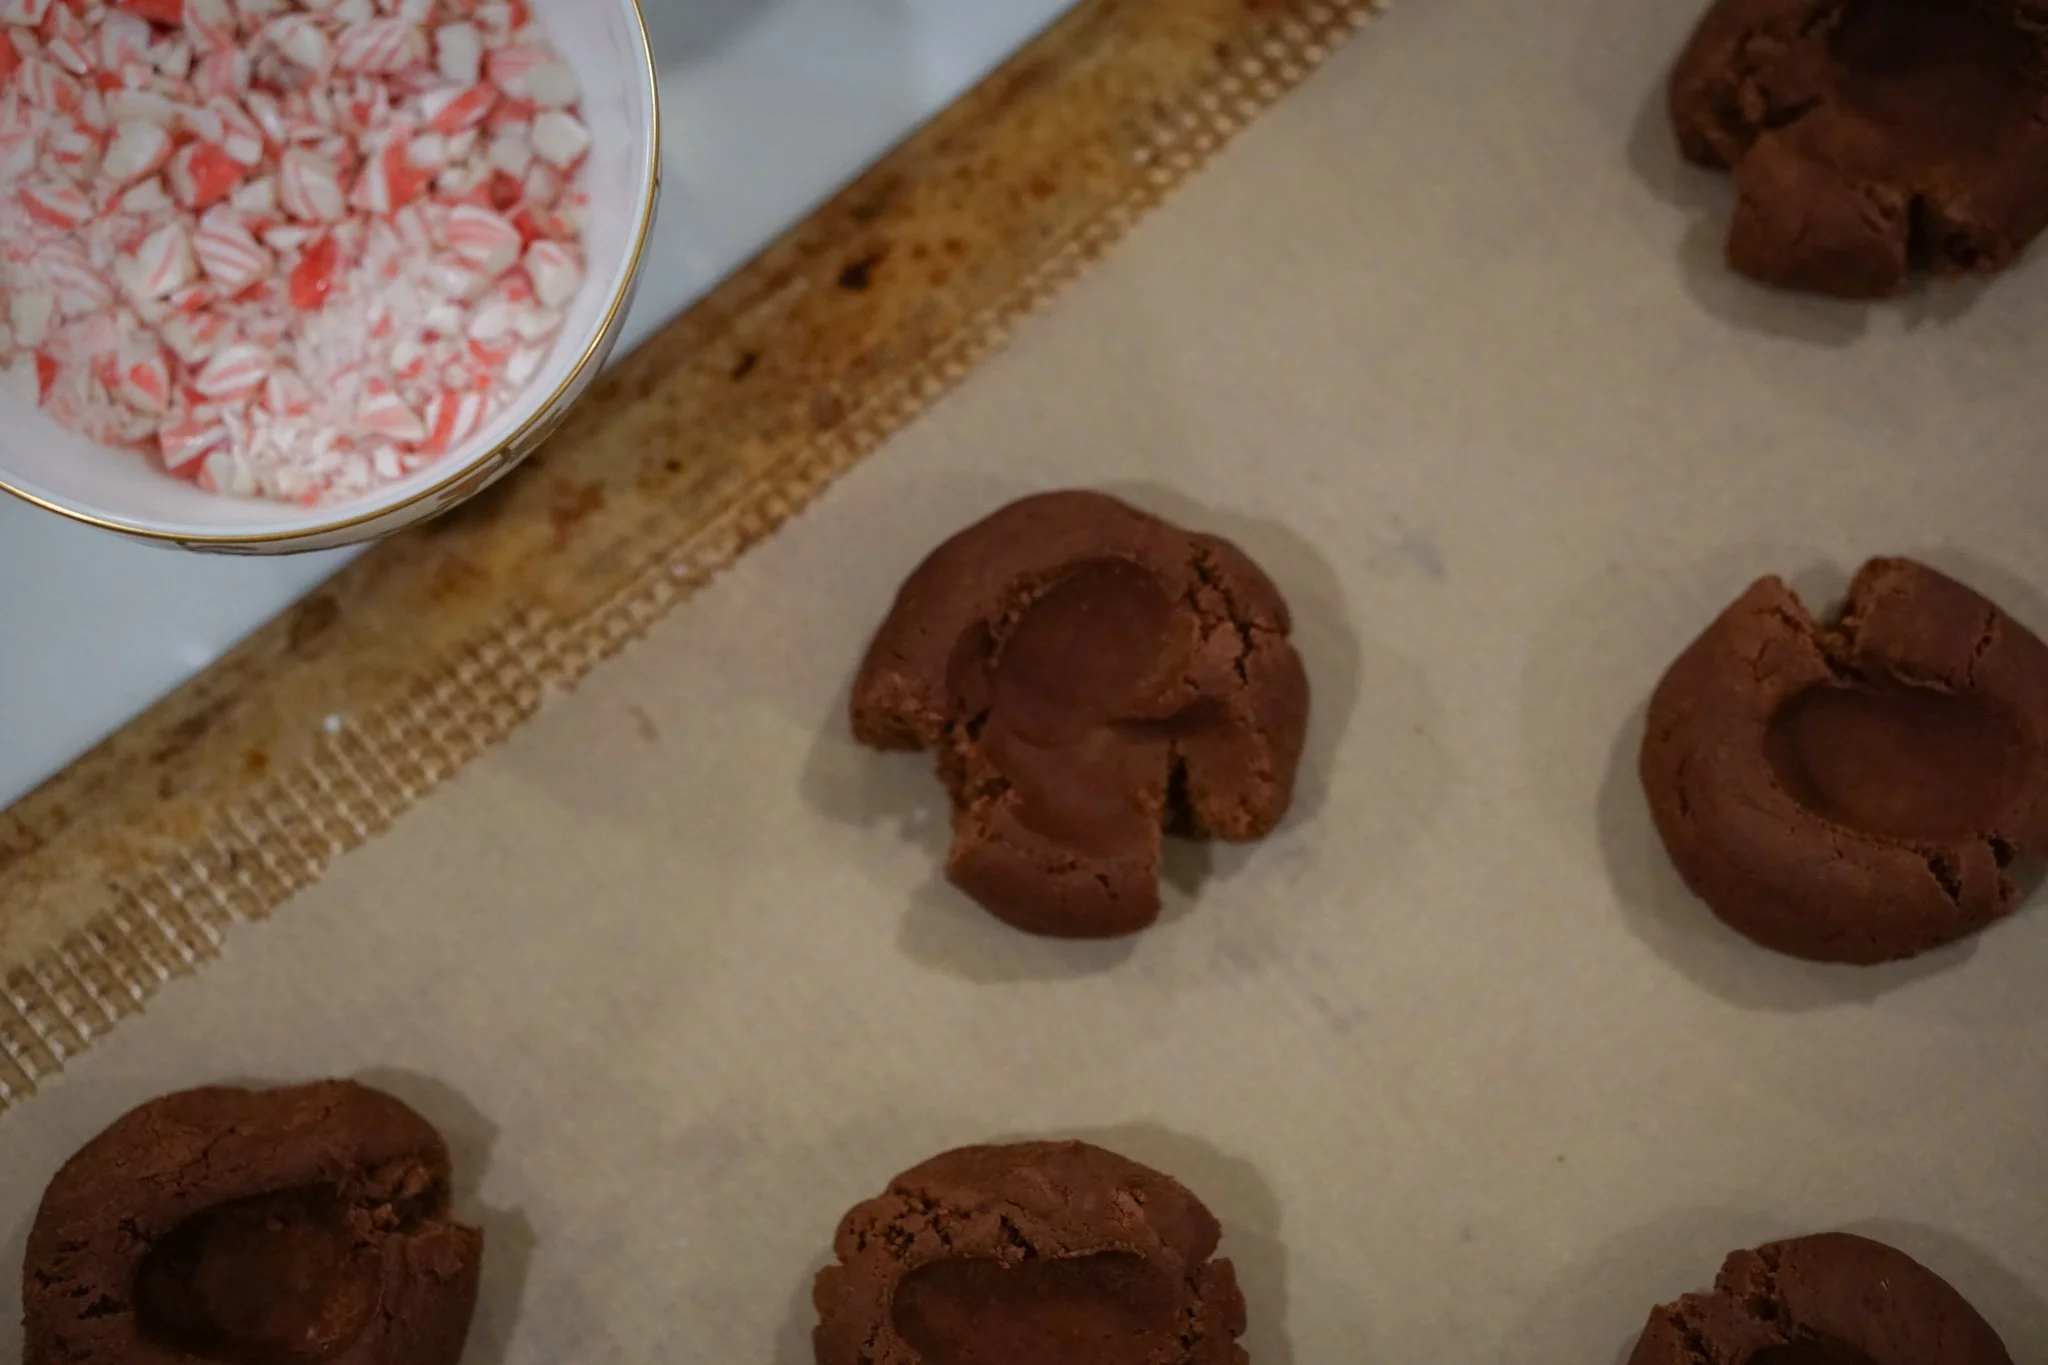
11. Press your thumb into the middle of each ball to make a well in the center, forming sort of nests.
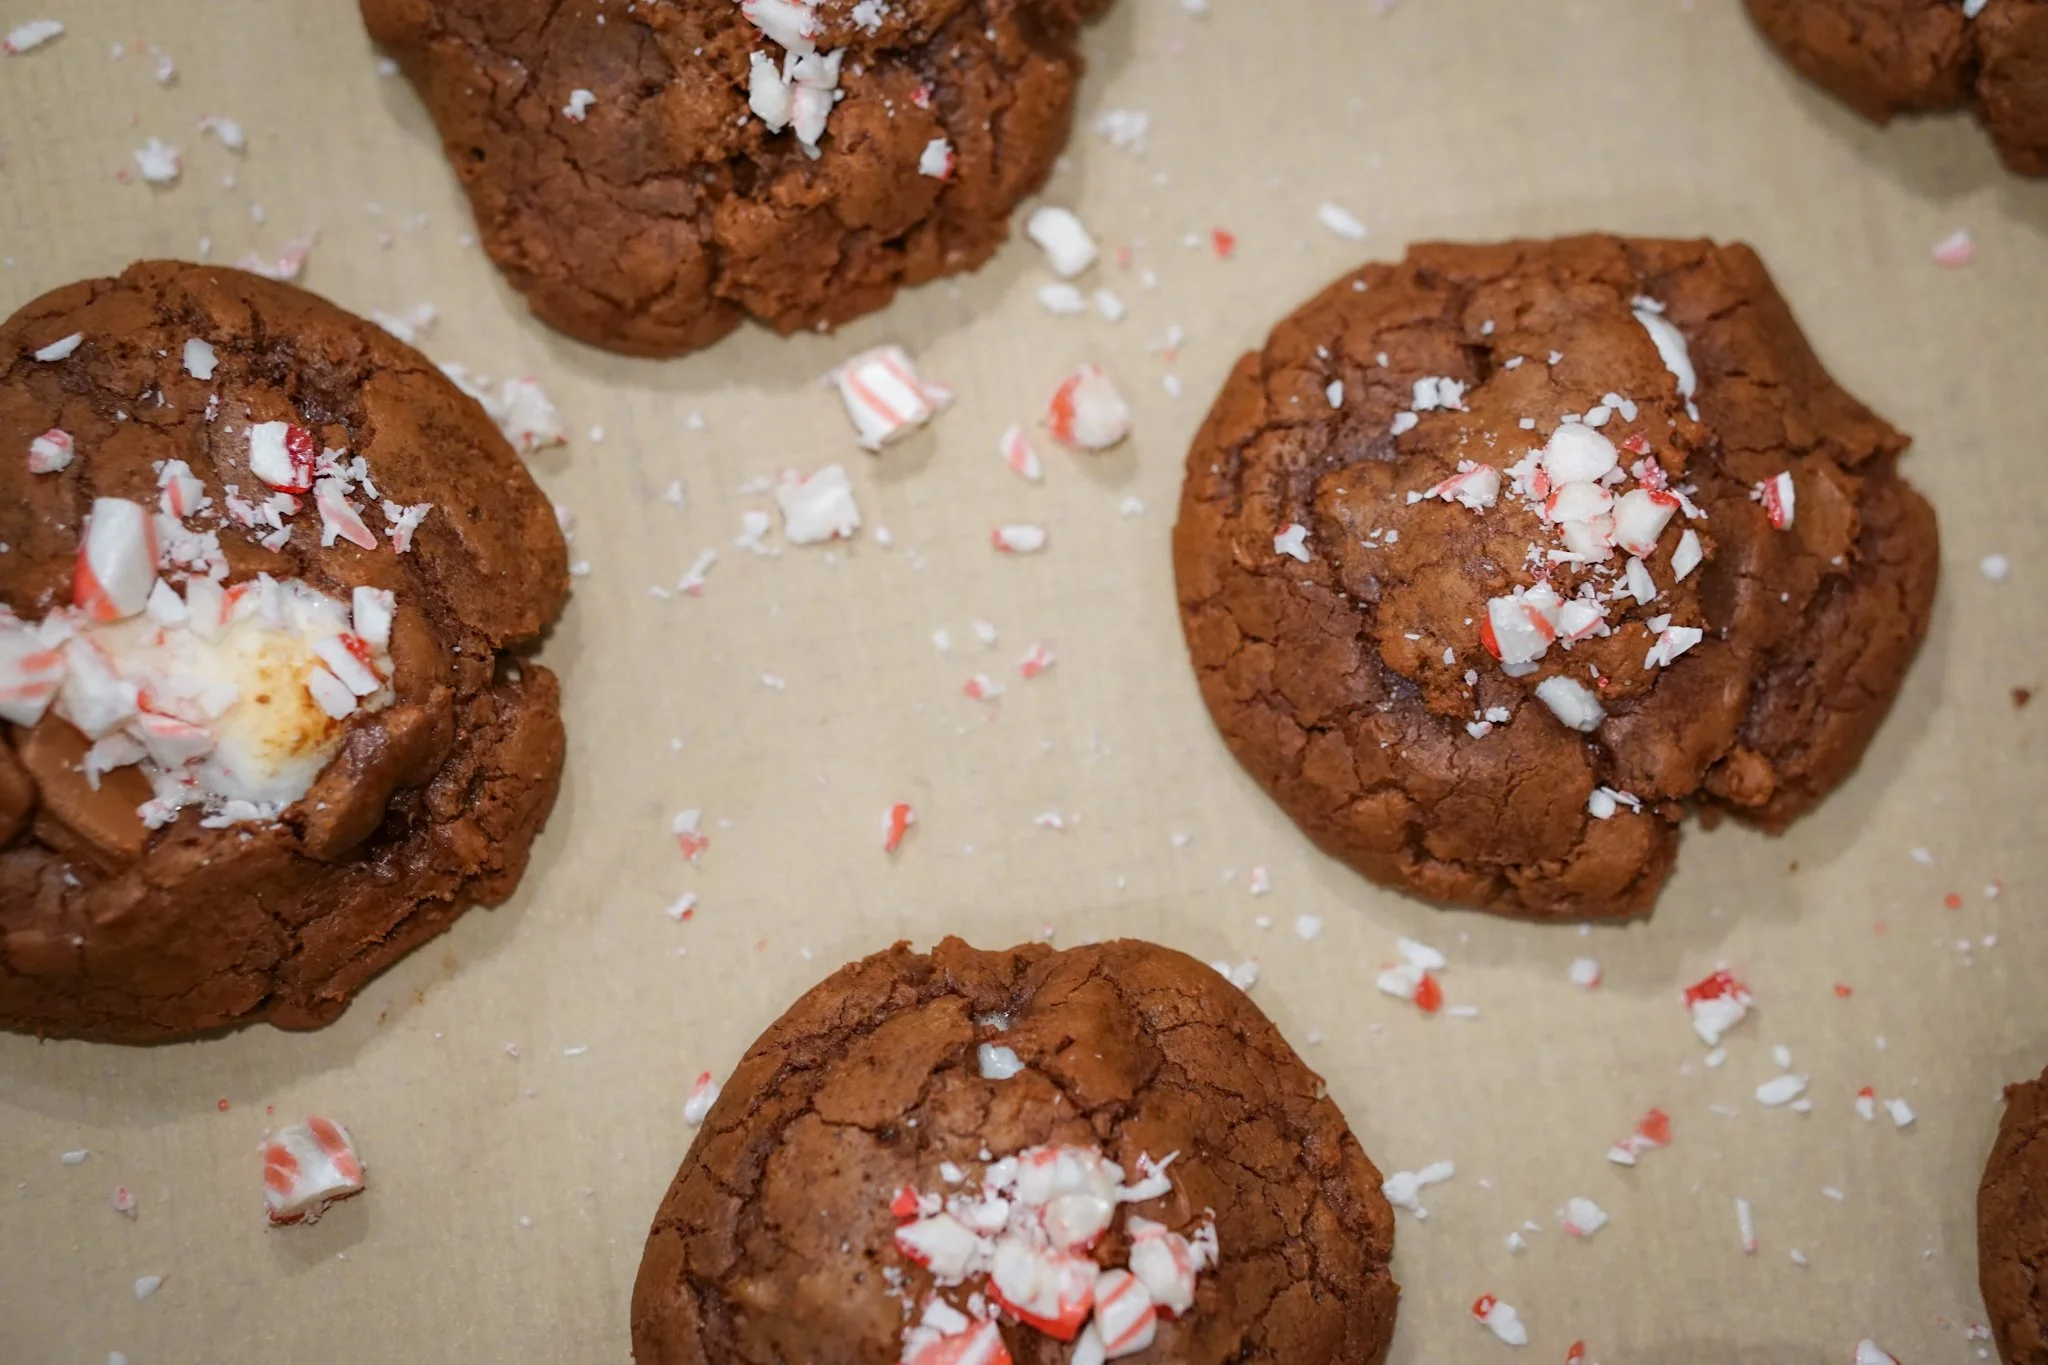
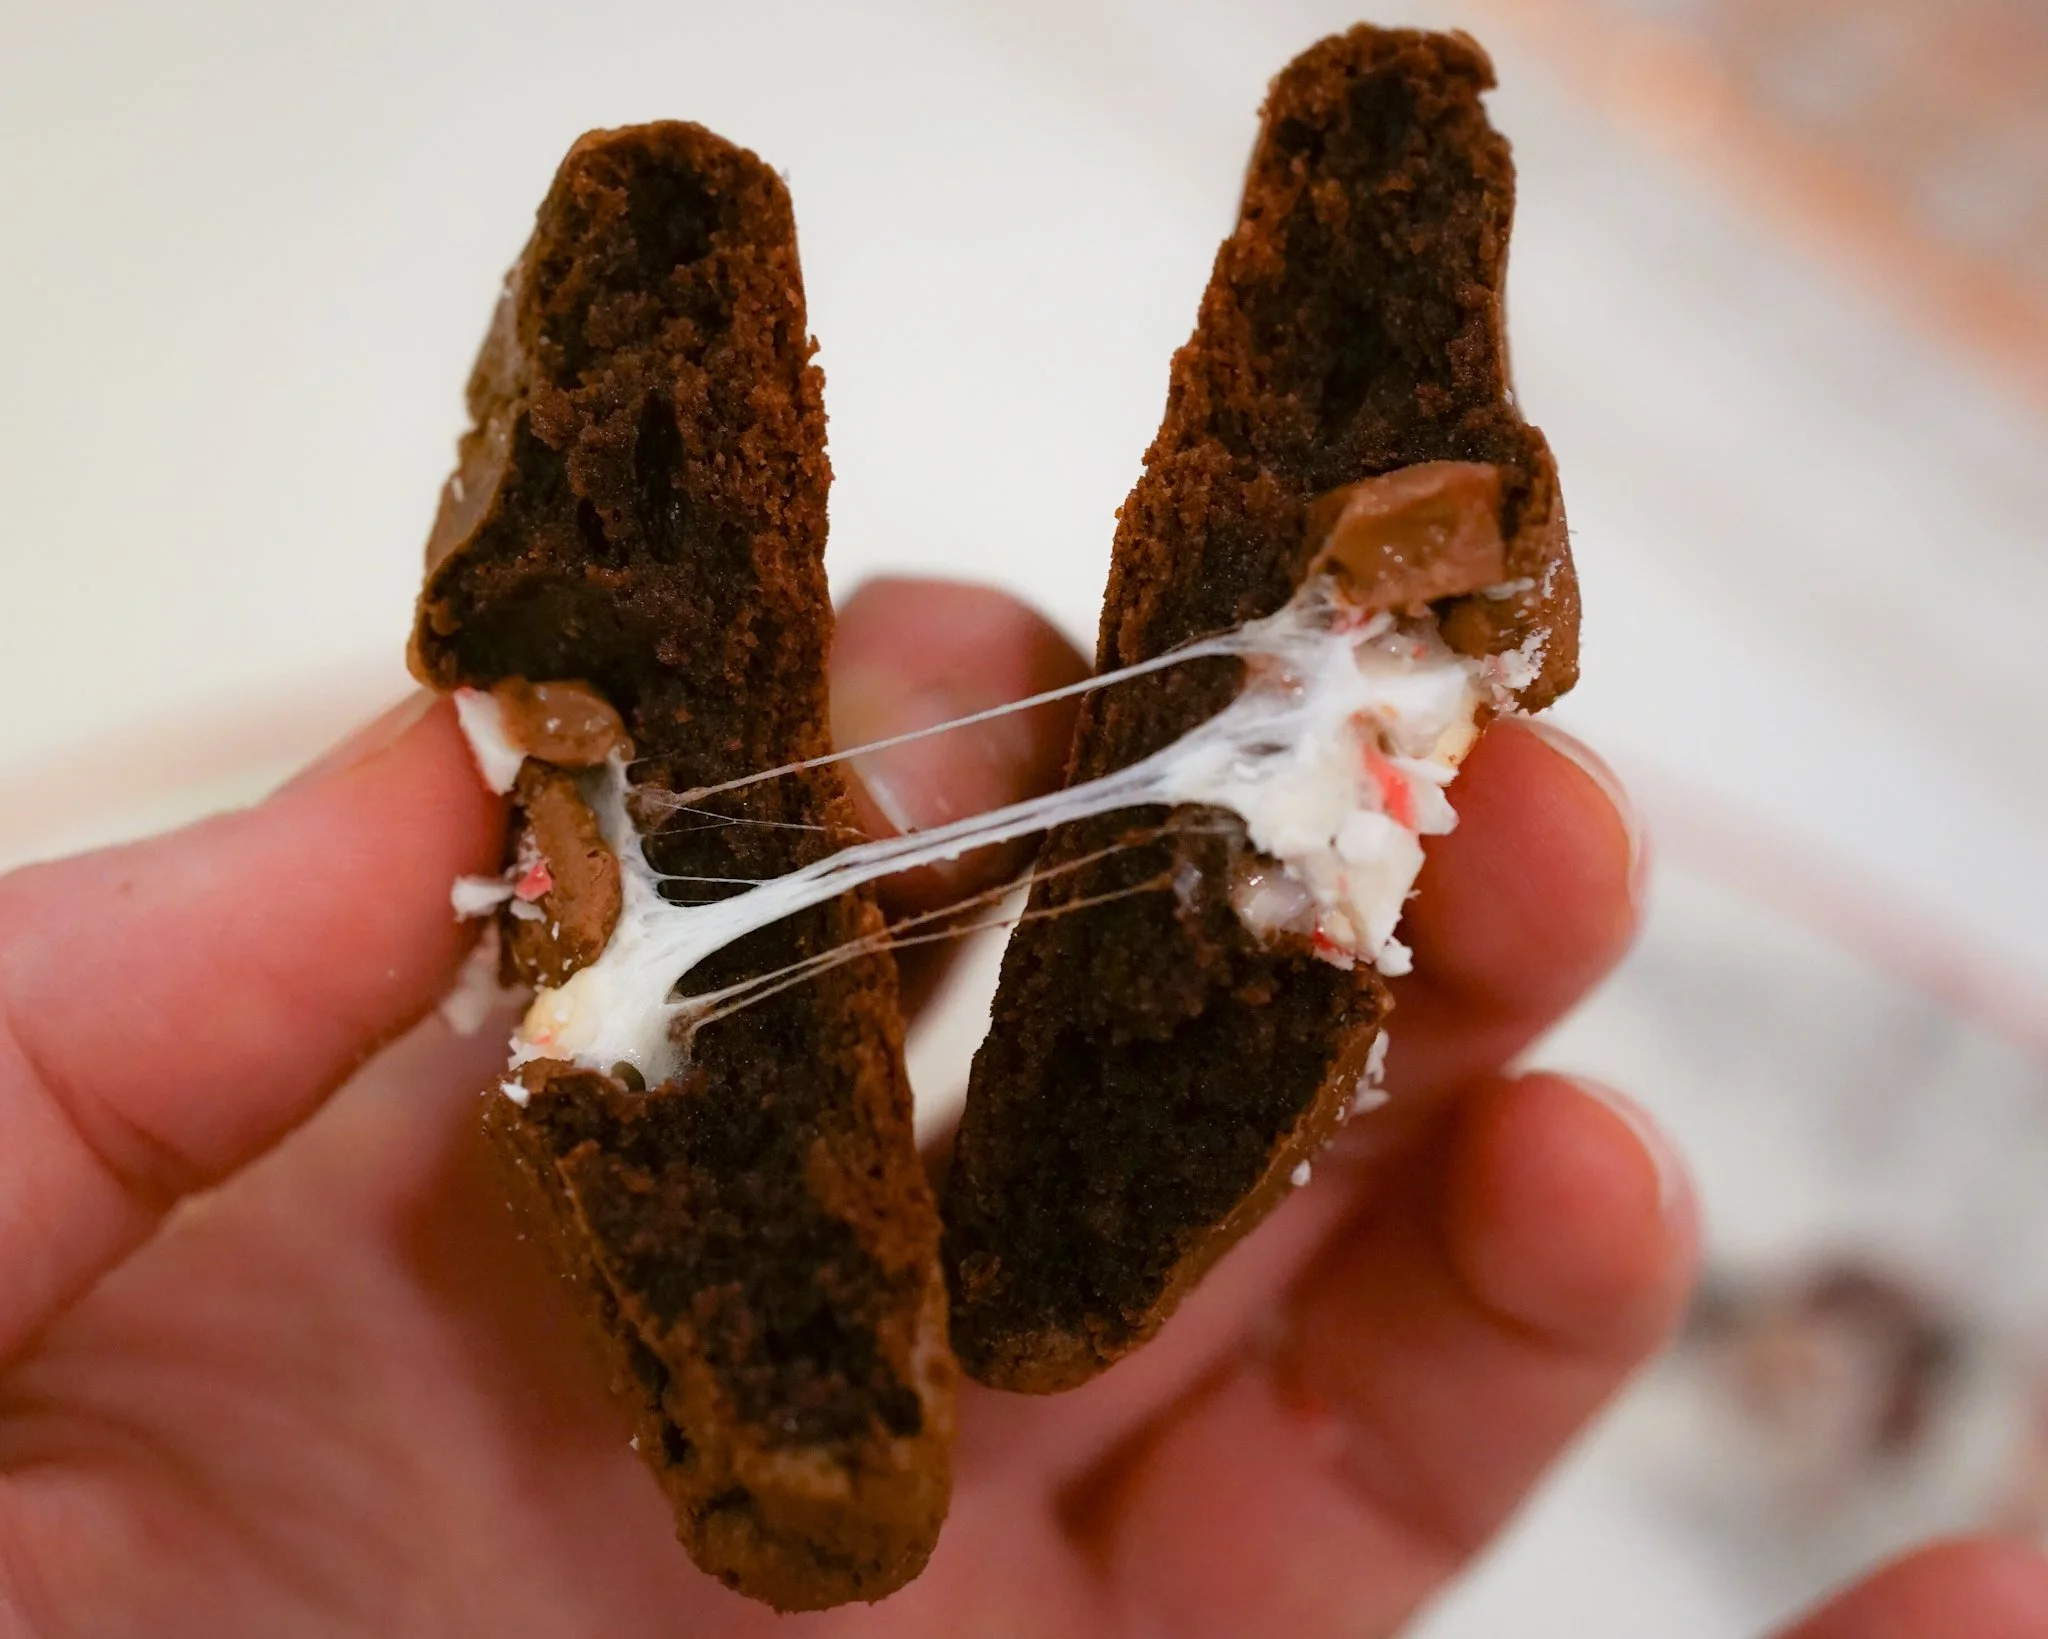
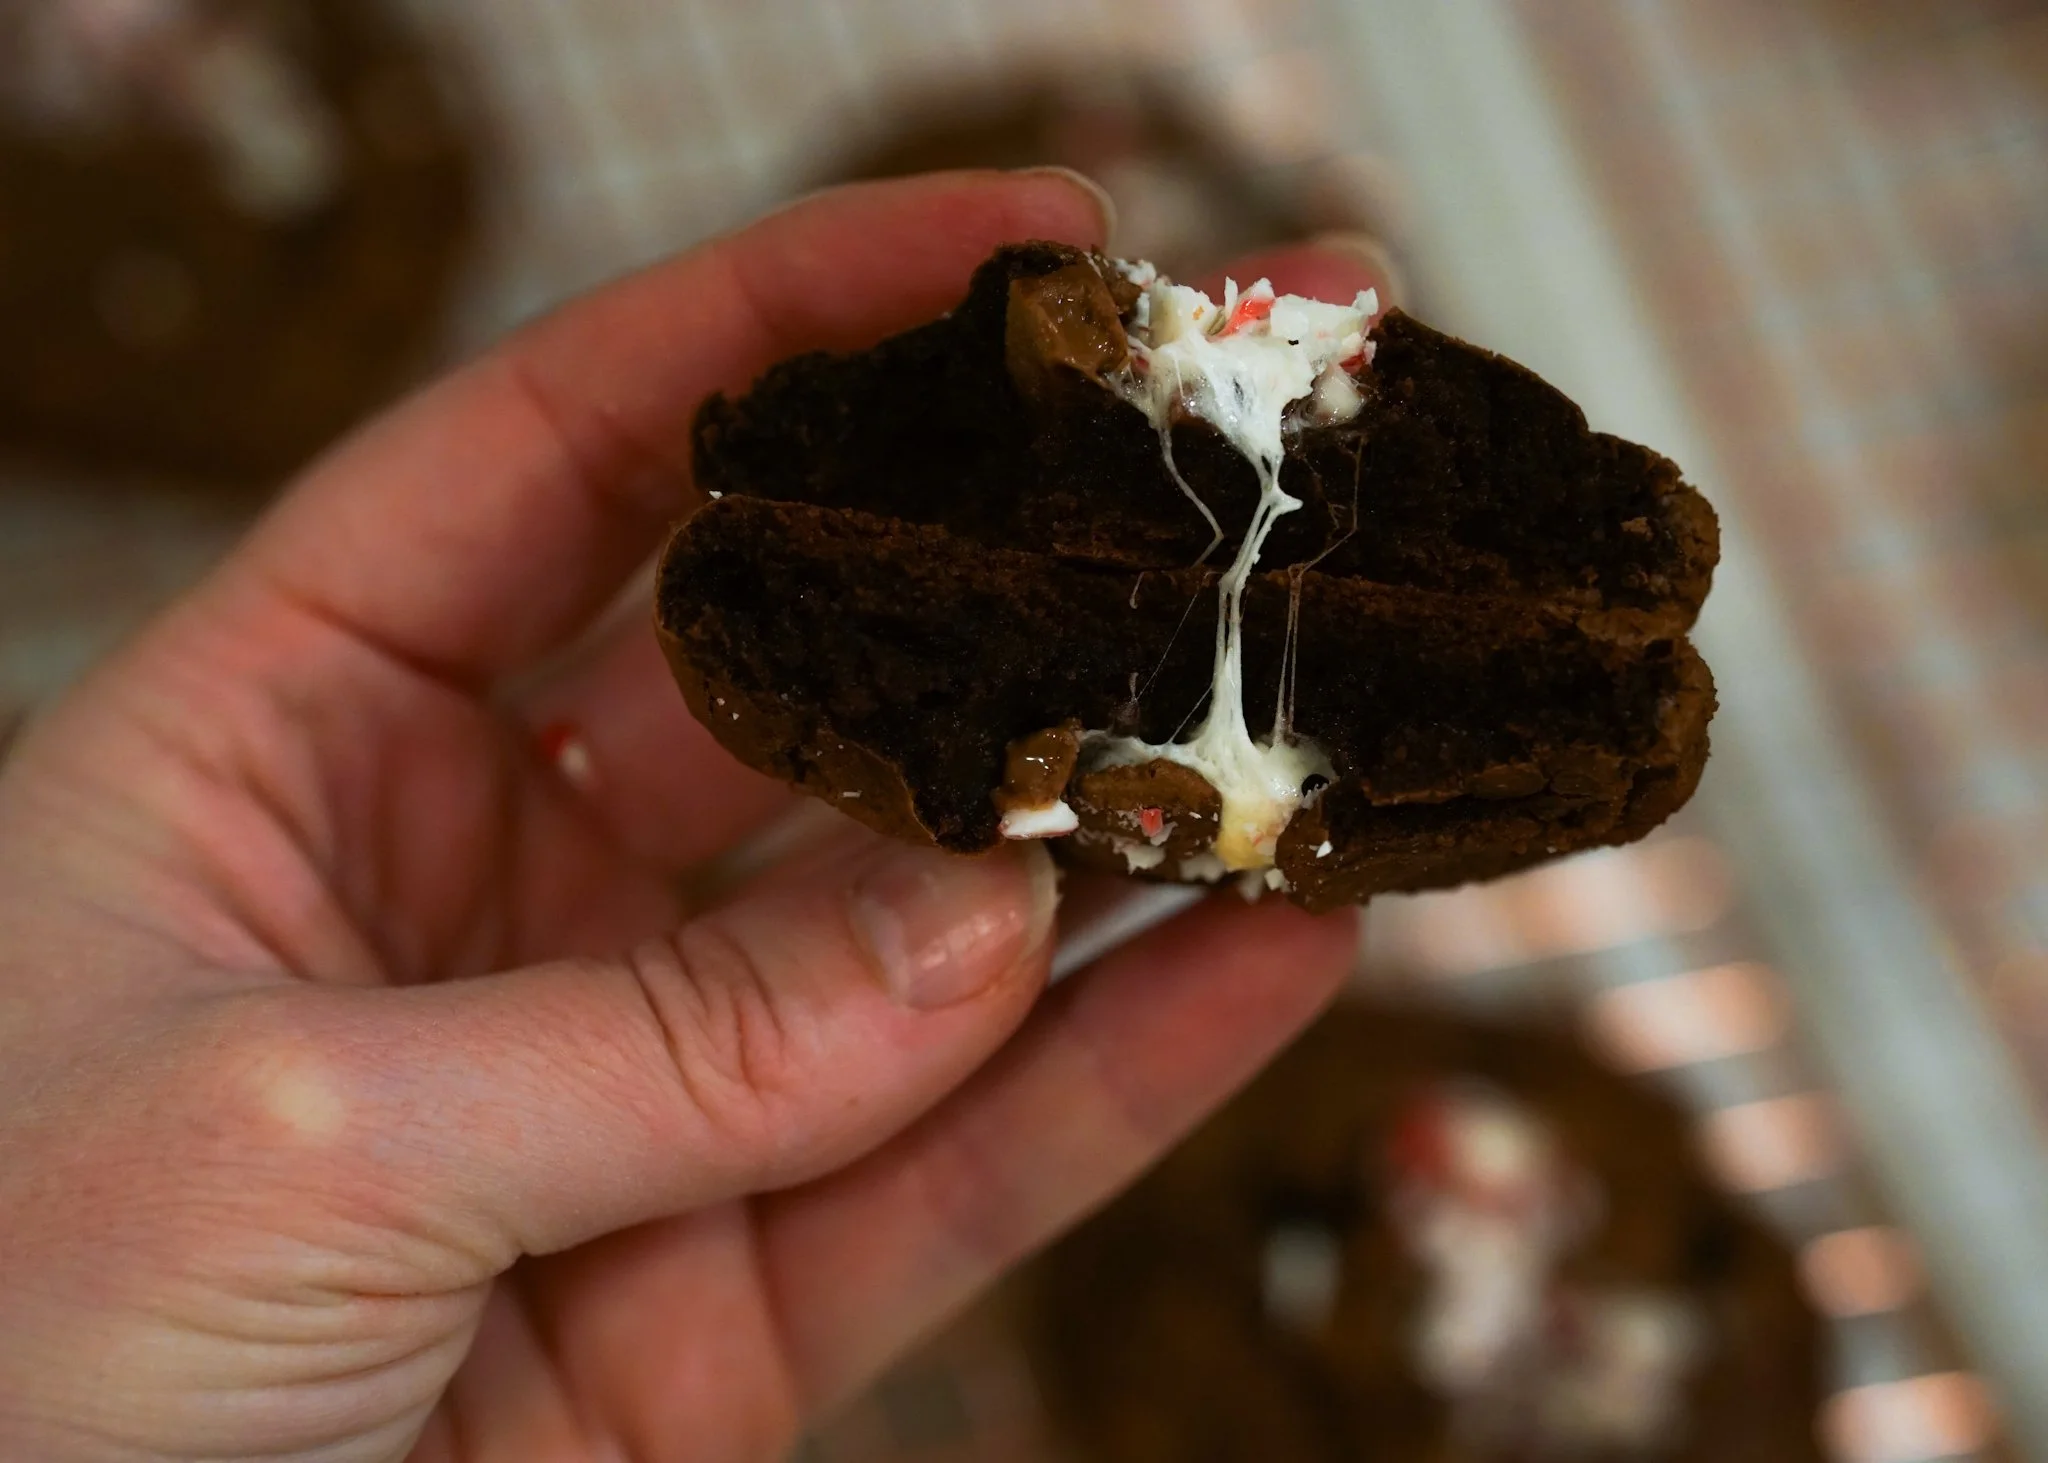
12. Here’s where the kids really had fun. Fill each “nest” with marshmallows and chocolate chunks (or whatever you are substituting in here!) We fit about 2-3 marshmallows and several chocolate chunks into each.
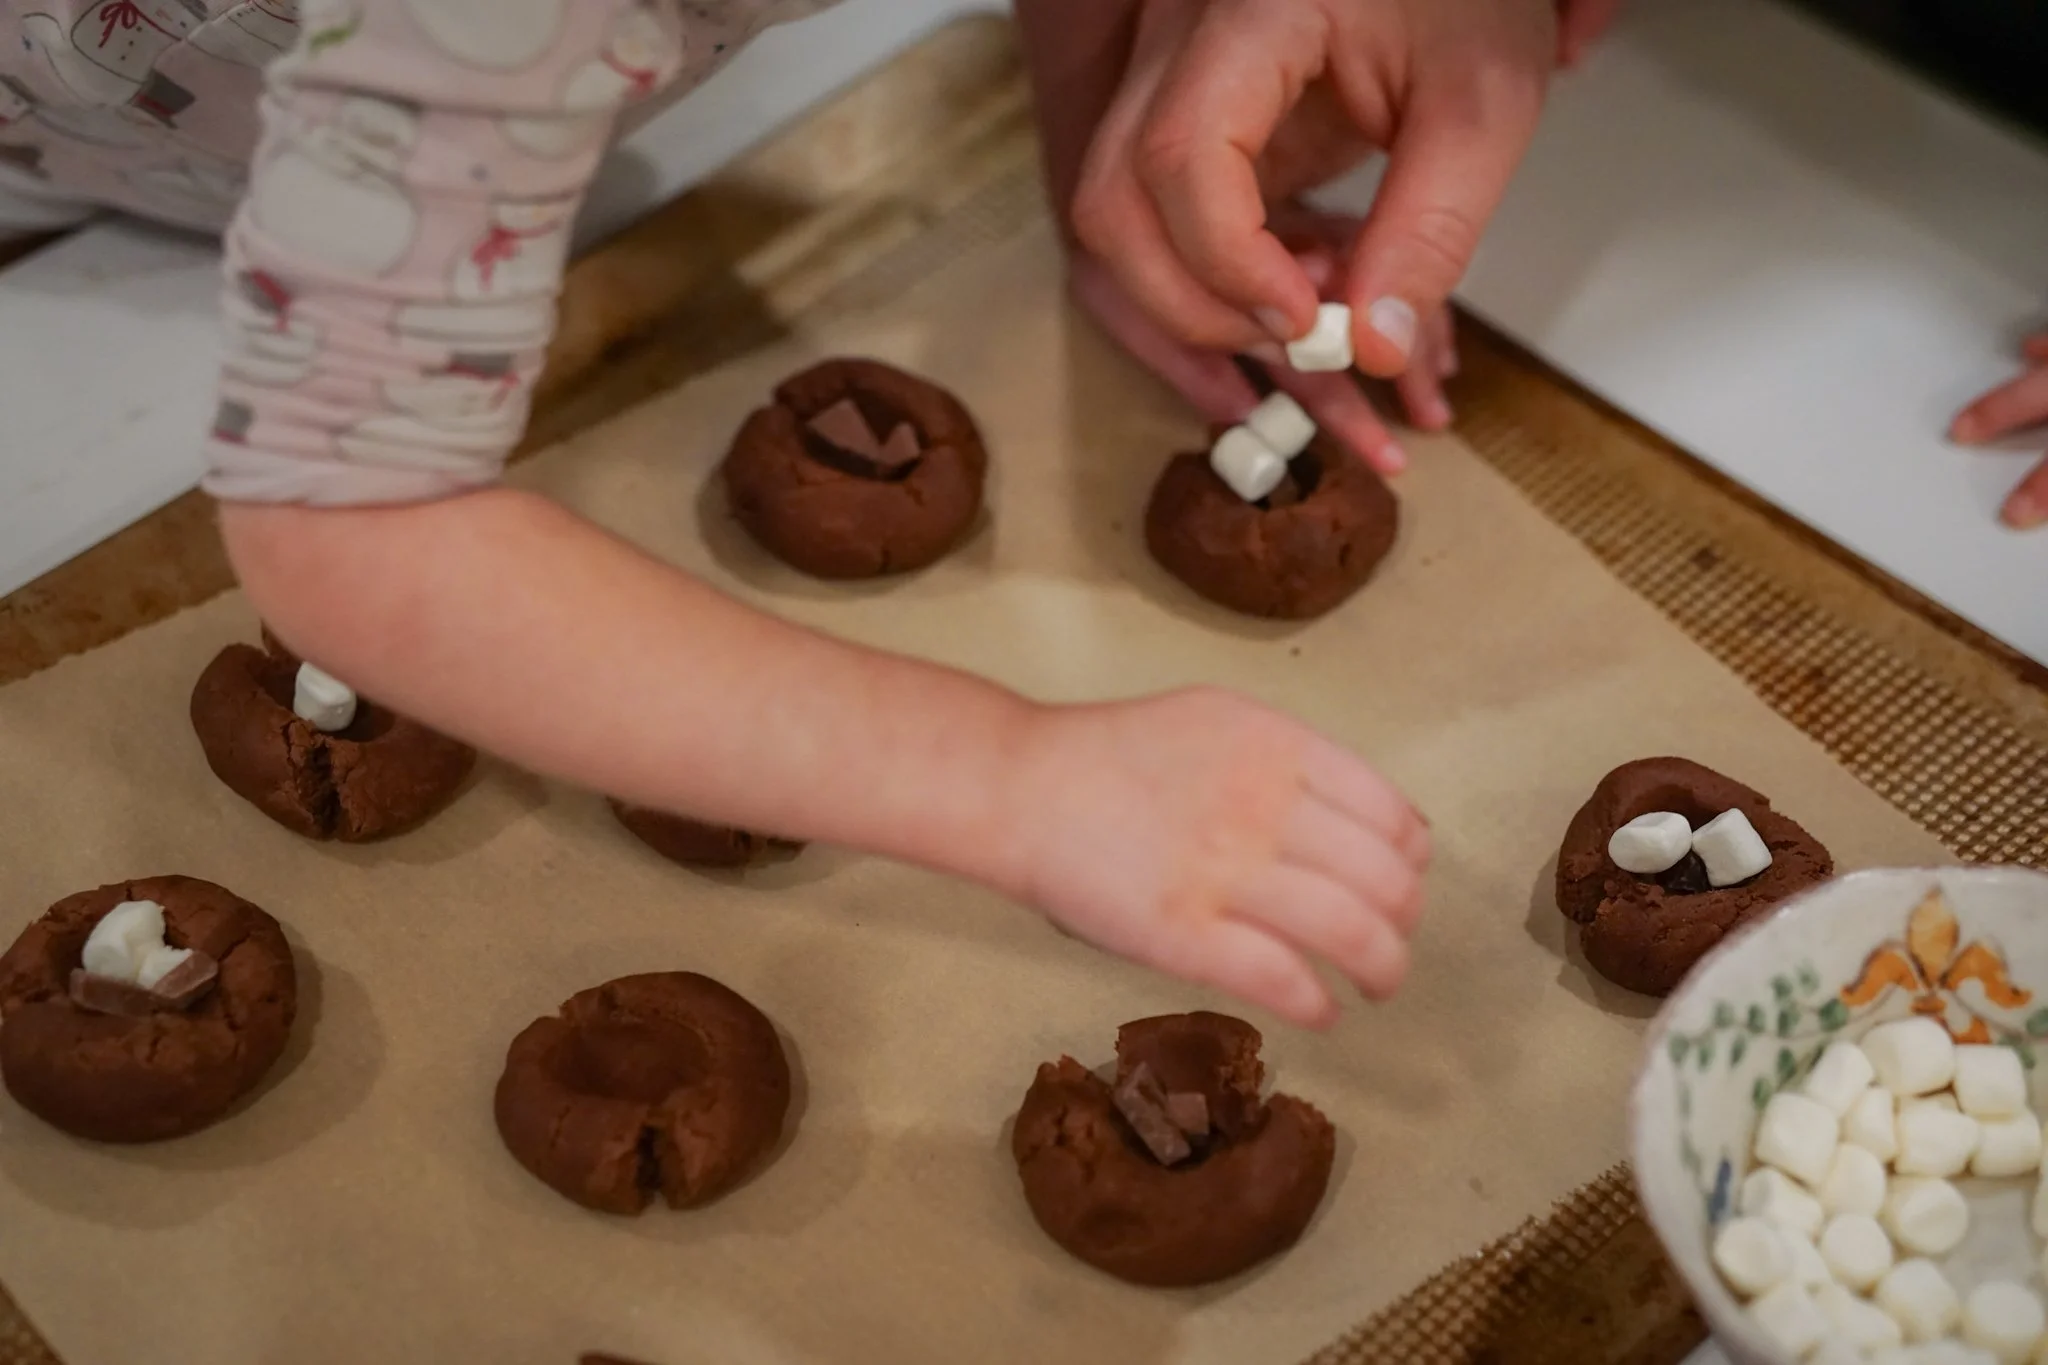
13. Pull the sides up and over the marshmallows and chocolate, so that they’re hidden within. I also tried a few with the marshmallows peeking out, and they turned out great and looked more like hot chocolate too—whatever method works! We used a combination of pulling the sides back up and over the marshmallow mixture and patching the top with the leftover cookie dough.
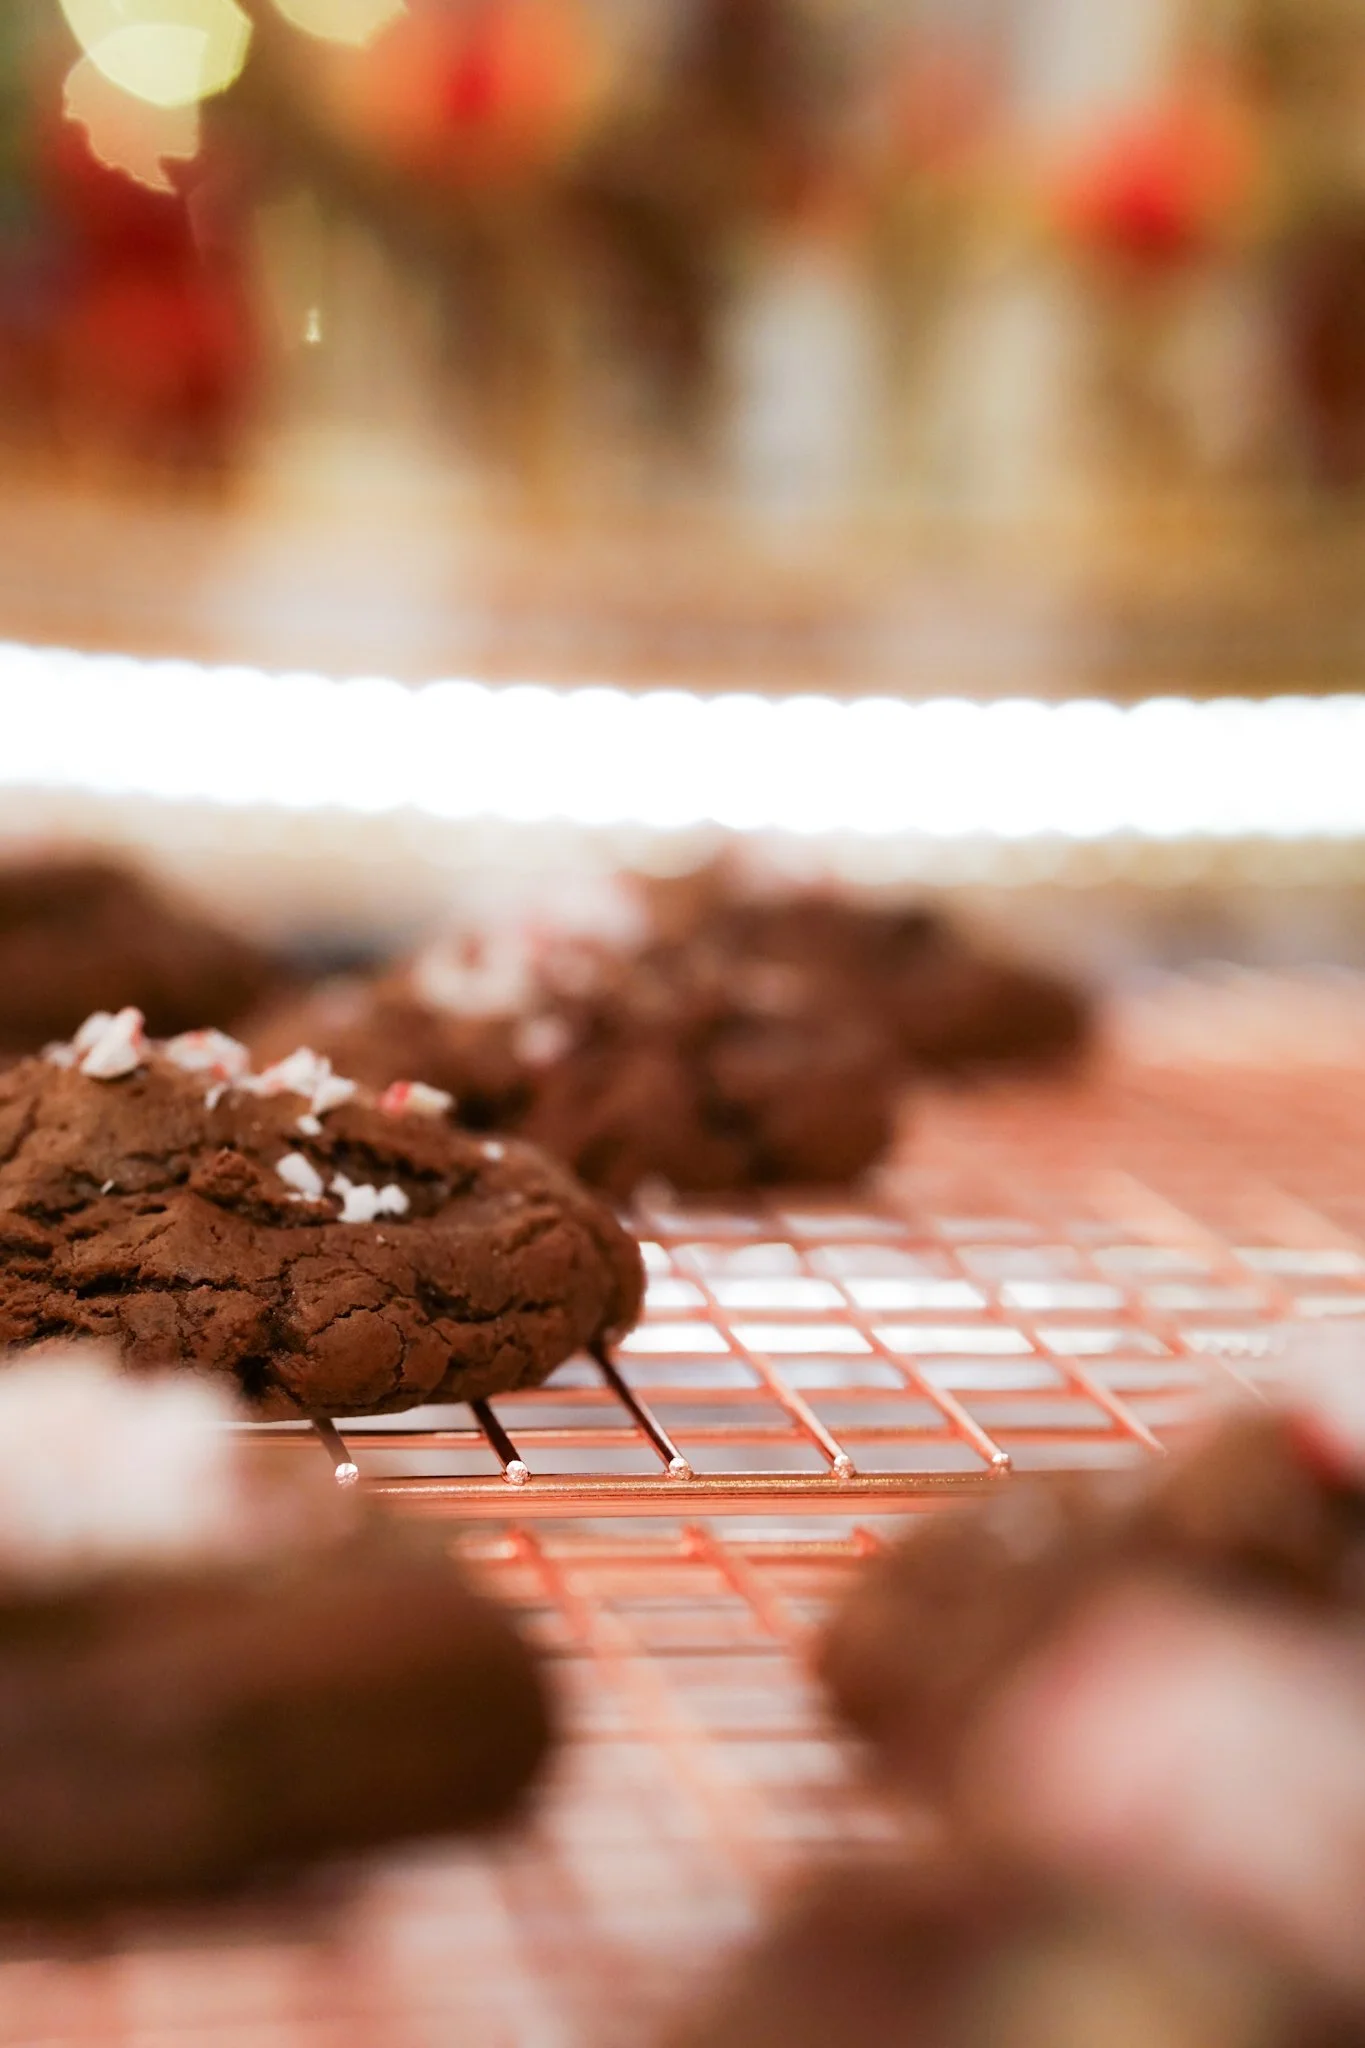
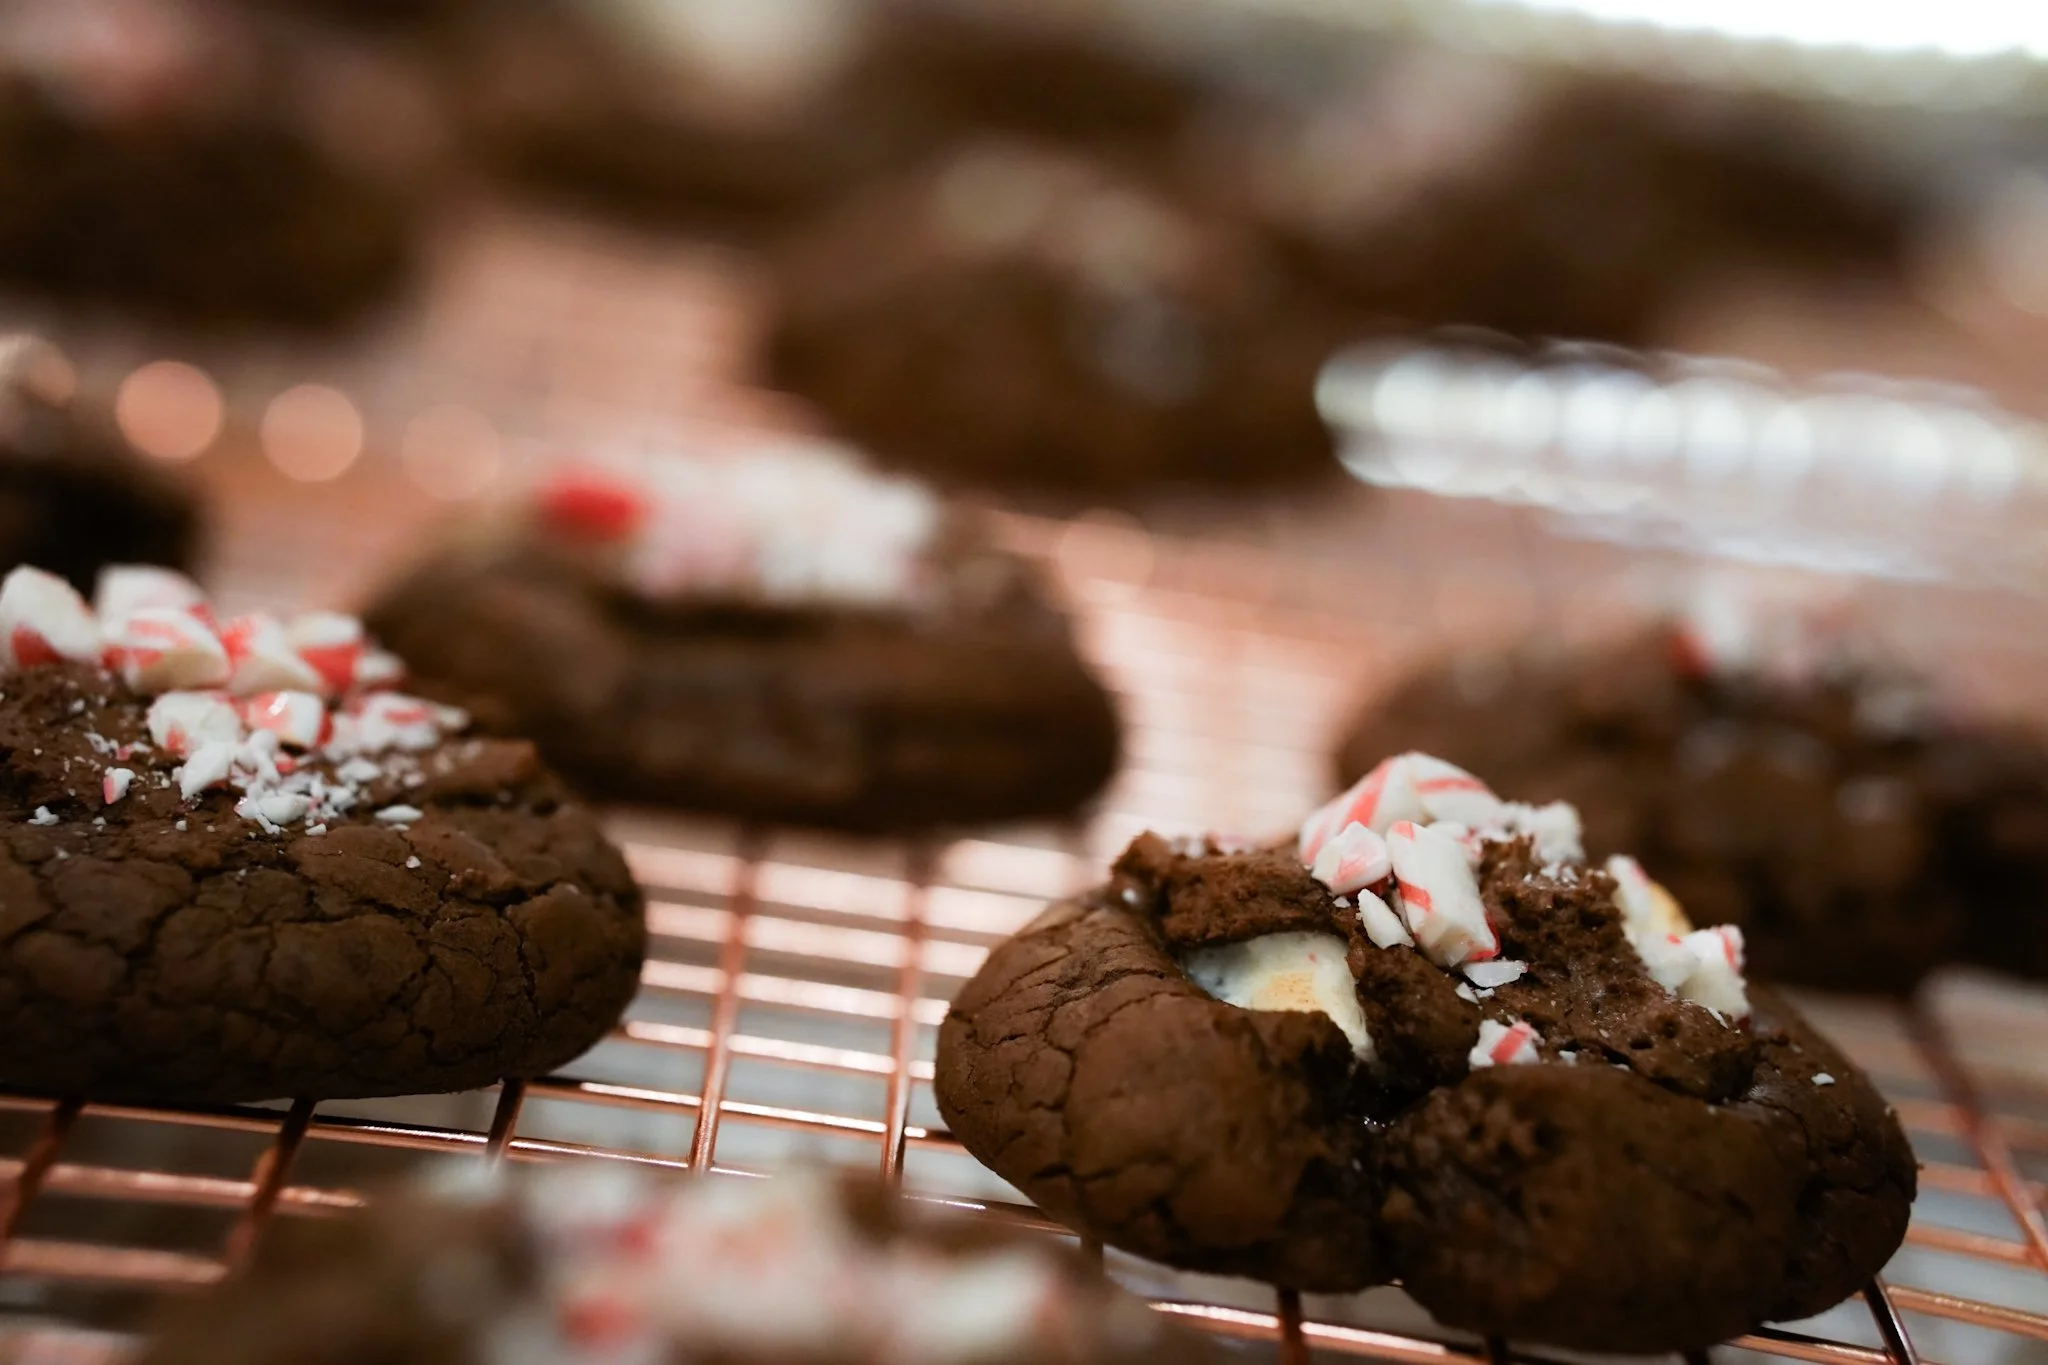
14. Bake for 10-12 minutes until the tops are beautifully cracked. After removing from the oven, quickly and carefully top with the crushed candy cane if you’re using it. You may need to gently press the candy cane into the cookie a bit.
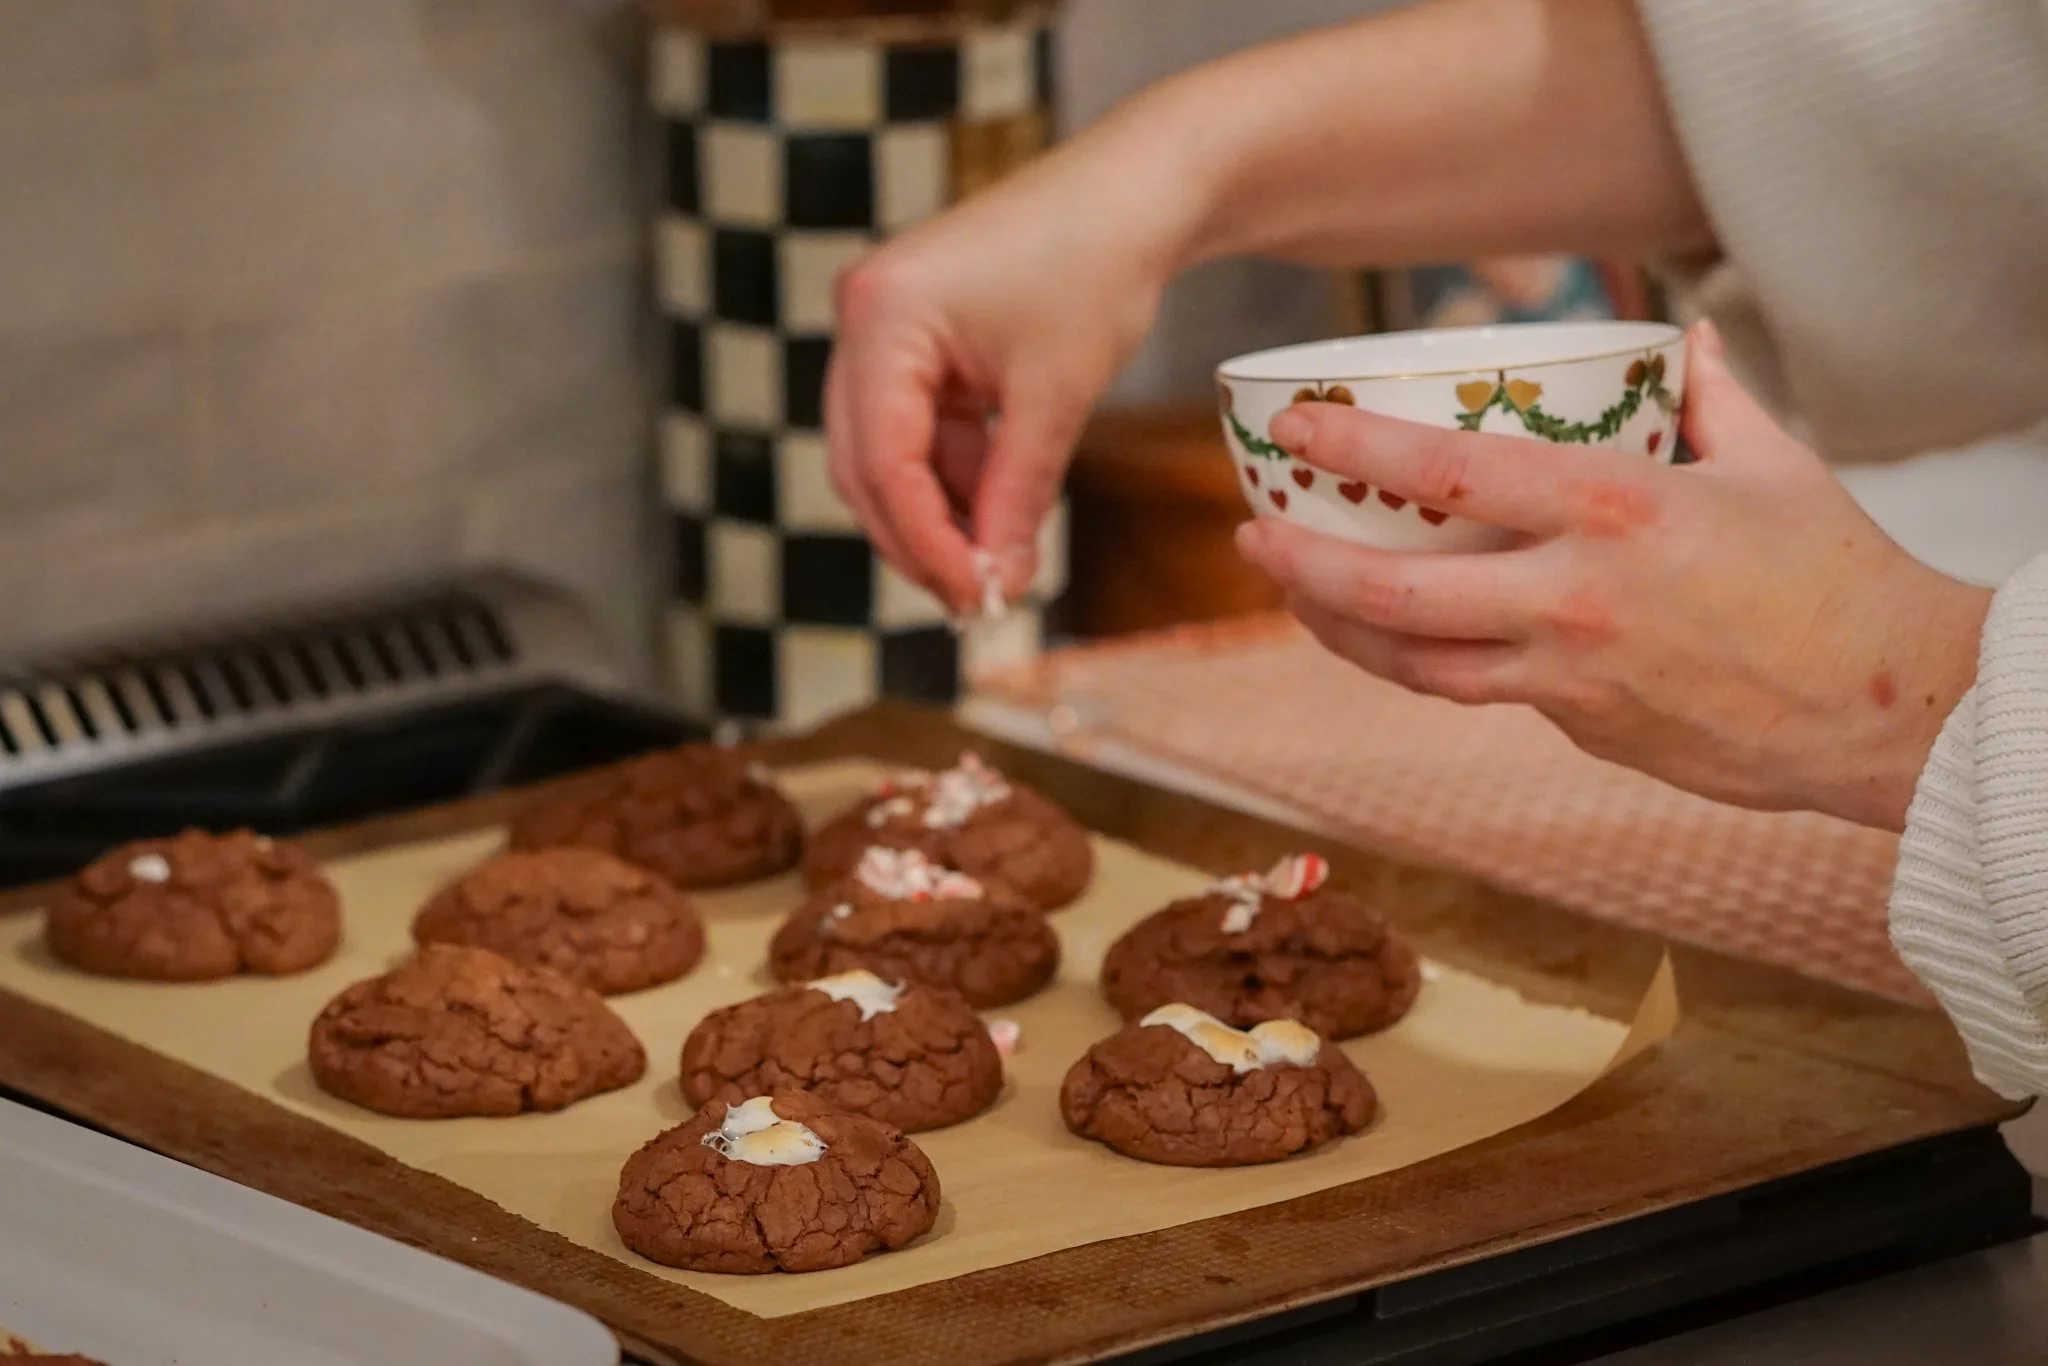
15. Let the cookies rest on the tray for 5-10 minutes before transferring to a cooling rack.
Let that holiday magic sink in and enjoy.